What are the best video camera apps for iPhone and Android Smartphones?
Before you start making videos with your Smartphone you will need to get the right video camera app. All Smartphones usually come with some form of camera app as part of their operating system. They can vary from being good to useless.
When it comes to shooting video you will quickly realise that most camera apps installed with the Smartphone are not good enough for the job of making professional videos. Luckily there are a few video camera apps on the market that will soon get your little box of tricks ready for filming great videos.

Choosing the right camera app for your Smartphone can be difficult but it is important to get right. It needs to have the right blend of manual functions but not be difficult to use. Most video camera apps come with multiple choices for shooting video with your Smartphone, but not all are great.
Some don’t have manual image and sound controls for shooting video and some are so time-consuming to change settings that they are not worth the bother.
So which video camera app should you buy? I would like to say the app market is full of fully featured camera apps for making videos. Sadly this is not true. I have mentioned elsewhere in this book that most of the video camera apps available do not have on screen audio levels for checking your sound. If your purpose is to make videos that do not need any sound then this will not be an issue for you.
Some apps only have special features, like slow motion, and you might find that useful for certain jobs. If however you do want to record sound you need to make sure that your chosen video camera app has on screen audio levels. This is the only way to see if your audio is recording correctly.
Other features you won’t find in some video camera apps are control over the focus and exposure. It is important to have manual control over these settings. There is nothing worse than watching a video where the focus is constantly shifting in and out or the exposure won’t stay fixed because of changing light. You need to set and lock these so your video will stay in focus and have the correct exposure.
Most professional video camera apps have these functions. To be a good filmmaker you will need to gain control over the focus and exposure to make a professional video.
Besides setting the exposure and focus you will need to get control over the frame size, frame rate and Bit Rate. These settings are important if you want control over the quality of your video. You will find it difficult to film in 4K at 100mbs with a frame rate of 25 with the built-in camera app.
These settings are available with a professional video camera app like Filmic Pro. Having control over these settings also means you get the best quality video that your project needs.
You should also be aware that not all the functions that are available in some professional video camera apps are accessible with all Smartphones. Older versions of the iPhone will not shoot 4K video and some Android Smartphones will not shoot video at 25 frames a second. So to get the most out of a professional video camera app you will need to have a recent model Smartphone with a high specification.
That said, if you are only planning to shoot 1080 HD video, you would find that most Smartphones would be able to do this. If you are using an Android Smartphone make sure it supports Camera2 API so you get all the best features from apps like Filmic Pro.
So here are my recommendations for video camera apps for your Smartphone. All the video camera apps listed feature professional video camera controls so you can set up your Smartphone exactly as you like it. Some are only specific to iOS or Android.
So please check the video camera app is available for your operating system before you go searching for it on the app store. Also, please note that video camera apps are constantly updating. So please check that your chosen video camera app has all the functions you need before you buy it.
Filmic Pro
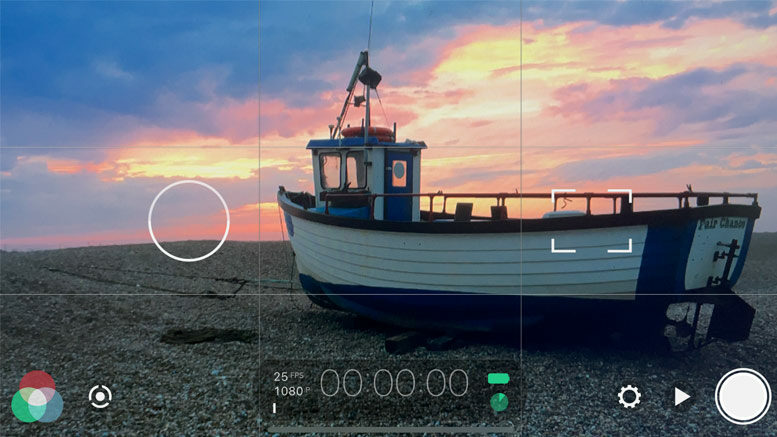
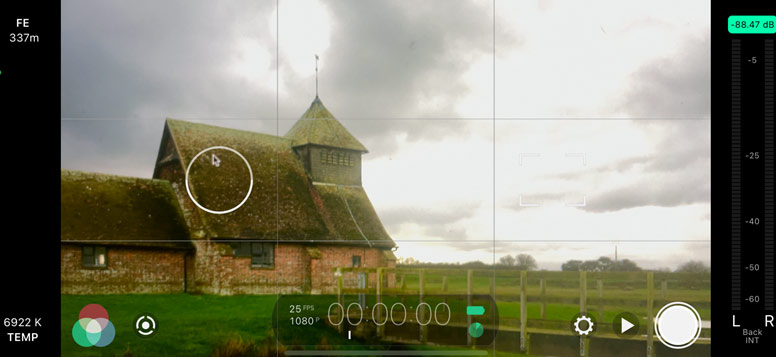
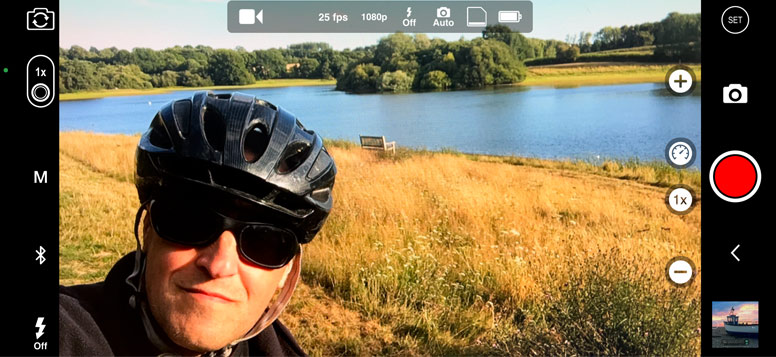
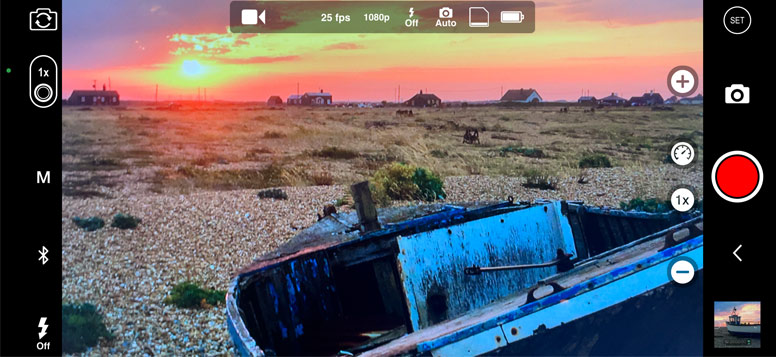
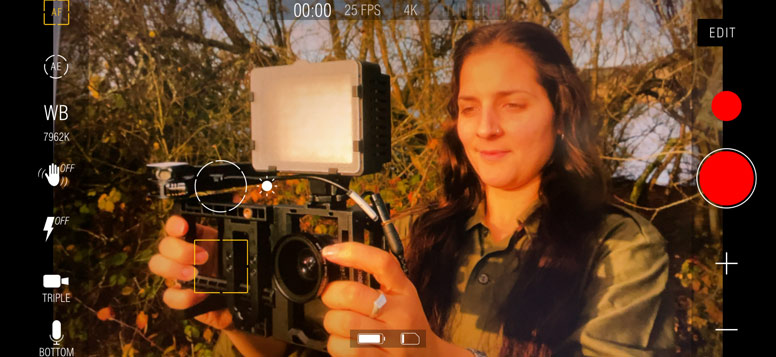
One of the most popular video camera apps is Filmic Pro. It’s been in use for countless video productions on iPhone and even for feature films like Tangerine, Unsane and High Flying Bird. Filmic Pro has been around for a while now but continues to get better with every new release. It also has many features for shooting professional video and will turn your Smartphone camera into a fully featured video camera.
It has zoom controls, multiple frame rates, manual focus and exposure, white balance and shutter speed control. It also has on screen audio levels for recording good quality sound and manual audio gain control.
Filmic Pro has many different aspect ratio and resolution settings. You can set the frame size to 16×9 (widescreen), 4×3 (old TV standard), 1×1 (square) which is good for social media and 9×16 for IGTV. The higher frame rates can go up to 240 frames a second which gives you choices for slow motion and it will also do time-lapse recordings.
If you need to add Meta Data to your recordings you can add this information into Filmic Pro so each video clip you save will have a place and time. You can also save all your chosen settings as presets so you don’t have to keep changing camera functions every time you make a new video.
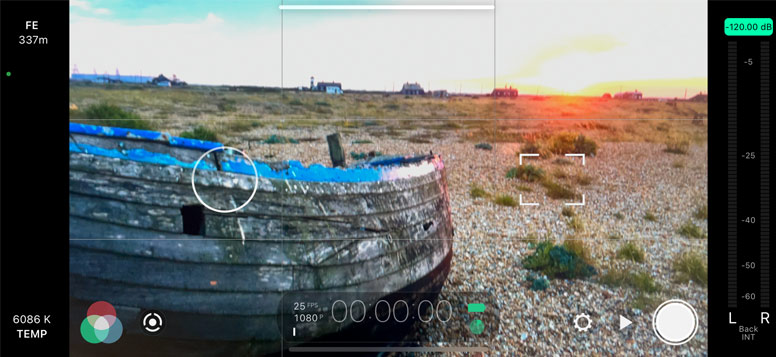
Filmic Pro will record a maximum resolution of 4K video at 100mbs and this will give you super high-quality video. Be aware though that your Smartphone must support this feature to be able to use it. On newer iPhones it can also record in LOG format. This will give you a flat picture profile, which is the best image for colour grading.
Filmic Pro also supports third-party hardware. If you add the Moondog Labs Anamorphic lens to your iPhone the image will stretch and you will find it difficult to view it. Filmic Pro will adapt to this lens so you can view the image correctly. Filmic Pro will also adjust to some Nikon or Canon DSLR lenses and has support for hand-held gimbals.
There is also a classic version of Filmic Pro for older iPhone models. So if you do have an older iPhone you can still use Filmic Pro to make videos. However, you will only have access to some of Filmic Pro’s functions because of the technology limits in the older iPhone models.
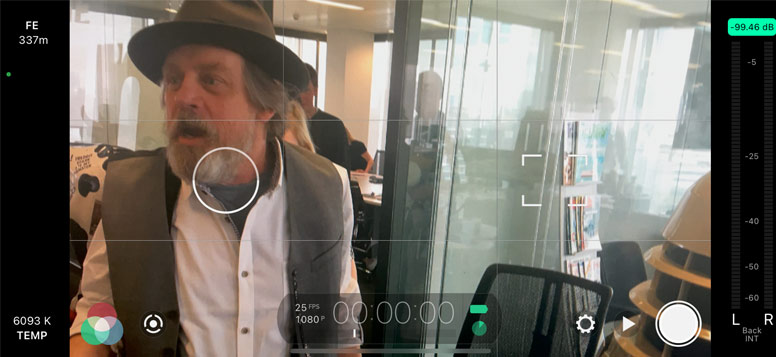
Until a few years ago Filmic Pro was only available for iPhone and iPad users. Android users could only look on with envy at the video functions that Filmic Pro gave the iPhone. But now, after months of development, the Filmic Pro team has now released a version of Filmic Pro for Android. Just like on the iPhone, Filmic Pro turns your Android Smartphone’s camera into a fully featured video camera.
Most of the functions that are available for the iPhone are available on Android. However, users should be aware that because of the many makes and models of Android Smartphones available, not all of Filmic Pro’s features may work. So before buy it, check your Android Smartphone supports Camera2 API to guarantee that Filmic Pro will function correctly.
![]()
![]()
Cinema FV-5
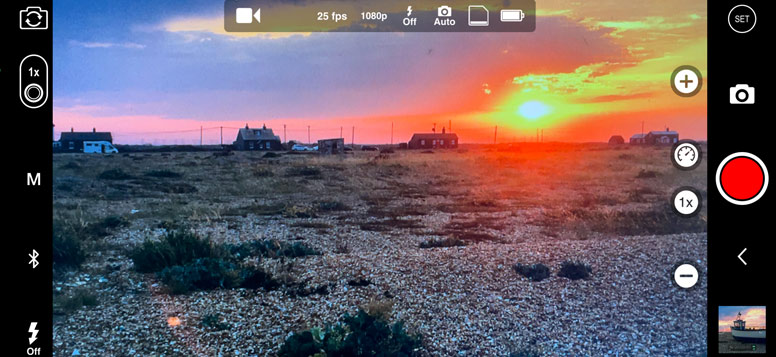
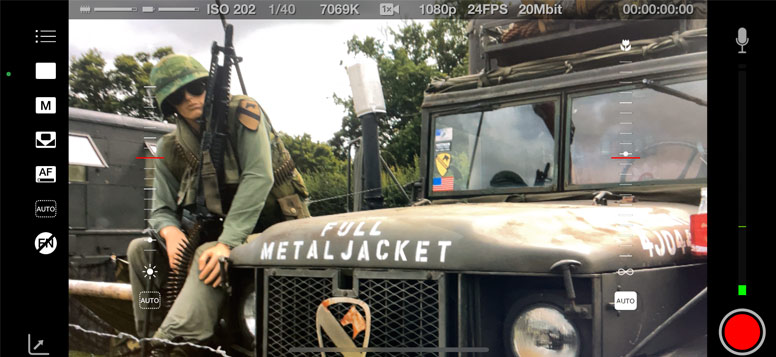
If you don’t want to use Filmic Pro on your Android Smartphone you could try Cinema FV-5. This app started life as photography app but the developers later created an improved version just for video. It has many of the same functions as Filmic Pro but is only available for Android Smartphones. Cinema FV-5 provides you with many professional video settings and manual controls to improve your Smartphone’s camera.
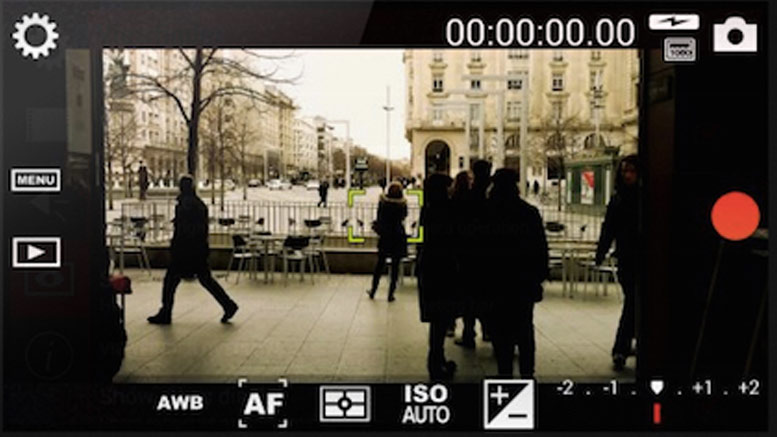
This includes exposure compensation, ISO control, light metering, manual focus, white balance, zoom, different frame rates and Bit Rates. It also has on screen audio levels so you can see where your sound is peaking.
Just like Filmic Pro you can add Meta Data to your videos so you know where and when you made them. You can also choose different frame sizes, which go up to 4K resolution, providing your Smartphone can support it.
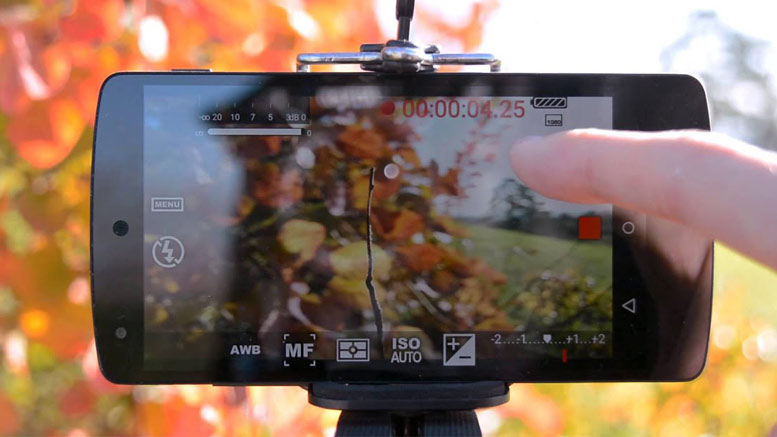
I would say that because of the many makes and models of Android Smartphones available not all of its functions will work on some Smartphones. This means you will not be able to get access to all the features the app has to offer because of the different technology in some Android Smartphones. However, I still think that Cinema FV-5 is a great video camera app for Android.
![]()
ProCam
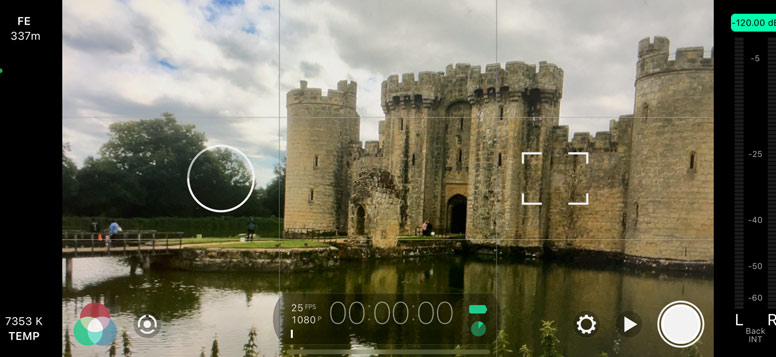
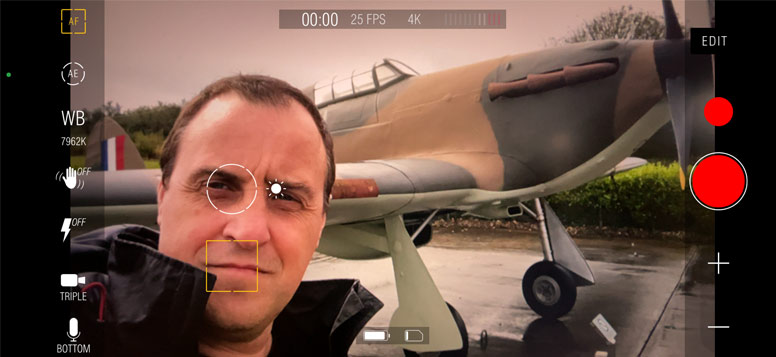
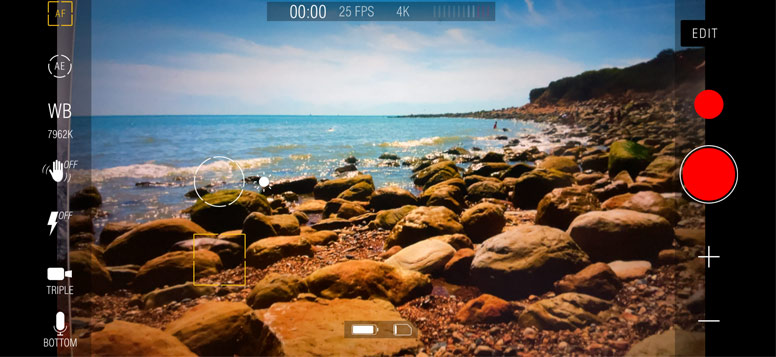
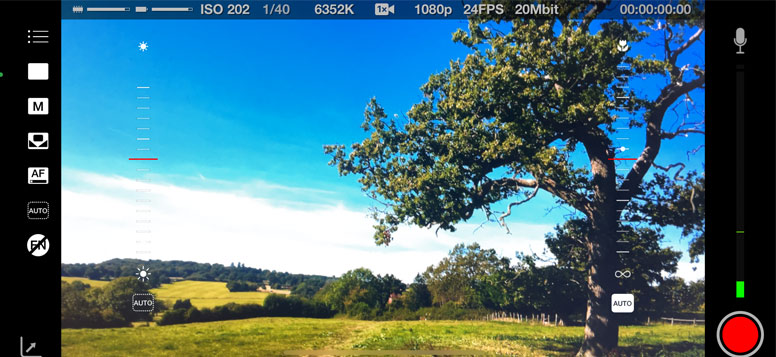
Another great video camera app for the iPhone is ProCam. Although marketed as a stills camera app, ProCam has an excellent feature set for video. It has all the manual controls you would expect including exposure, white balance, ISO, manual focus and shutter speed control. ProCam also has an impressive selection of frame rates. You can shoot at 24, 25 and 30 frames a second.
You can also adjust up to 120 frames a second in 1080 HD if you want to film in slow motion. Resolution size is fully adjustable and ProCam will record right up to Ultra HD 4K with a frame size of 3840 x 2160. You can also upgrade to Super 4K with an in app purchase which will push the iPhone right up to a frame size of 4038 x 2268 and 150mbs.
Other useful features include on screen audio levels so you can see how loud your audio is from a connected microphone. But be aware you cannot control audio gain like you can in Filmic Pro. There is also video stabilisation and a hard drive space gauge.
Another feature is the built in video editor. This is not as advanced as other dedicated video editing apps but might be useful for the odd quick edit if your video needs it.
![]()
![]()
Kinomatic
The Kinomatic camera and editing app is another good choice for iPhone. It has gone through many releases but recently added 4K to its impressive feature set. Many camera apps lack manual controls that enable you to shoot good quality video and audio. Kinomatic has none of these problems and it has many features that will appeal to the amateur as well as the professional.
Recording video is straightforward and starts by just hitting the big red record button. At the left of the screen you can adjust exposure, lock the focus, add camera stabilisation and adjust white balance with a set of icons.
At the bottom of these icons is the settings button. In here you can adjust all the settings for recording video. You can select 480p, 720p, 1080p and 4K image sizes. So you have plenty of choices for resolution. There are also frame rates from 24 up to 240 if you want to film in slow motion.
Below these settings you will see a monitor audio switch. Turn this on and you will see on screen audio levels so you can see how loud the audio is. If you plug in an external microphone, this button will turn into an audio gain level control. This means you can turn gain up or down depending on how loud your audio is. Below the audio control you can select what audio codec you want to record your sound with. You can select compressed AAC or uncompressed with a bit depth of 32. So if you want good quality audio, Kinomatic has several choices.
Other features you can turn on are the battery meter and the hard drive storage meter. These are handy for working out how much power you have left on your iPhone and how much hard drive space you are using up with your recordings. Towards the bottom of the main icons on the left you will find a preset button.
This is for saving your favourite filming preset so you don’t have to select a load of settings every time you use the app. This is useful for quick set-ups so you can get filming with a minimal amount of fuss. There is also a set of presets already set up for you. So if you’re not too sure what to start with, this will be a great help.
Another great feature of Kinomatic is the built in Video Editor. In here you can import clips from anywhere on your iPhone and start to edit your video. There are many tools, like the trimmer for cutting down your videos so you can then add them to the timeline. You can import music tracks from your music library to create a soundtrack for your video or import a voice over clip.
You can also adjust audio levels in the editor so you can do some simple track mixing. Another added feature is the titling tool. You can add titles to your final videos to give your finished movie the final professional polish that it deserves.
![]()
Mavis
Mavis is another professional video camera app that gives you full manual control over your iPhone’s camera. It is similar to Kinomatic and Filmic Pro and recently the designers updated the app to give it many new features. In the latest version they have redesigned many tools to give the app greater use in video production. The audio tools give full support for internal and external audio sources. You can connect a microphone by the lightning port or the headphone port and use Mavis to monitor and record the incoming audio.
The app also has audio gain control for both internal and external microphones so you can adjust your audio levels. You can also see where your audio is peaking with the on screen audio levels. Another great feature in Mavis is real-time audio pass through. This means that if your microphone has a headphone port you can add headphones so you can hear the audio as it records. This is useful for making sure your audio records to a high standard.
The viewfinder in Mavis has support for Moondog’s anamorphic lens and the Beastgrip DOF adaptor. This de-squeezes the image so you can see the image clearly after the lens correction. This also makes framing shots a lot easier when using these hardware accessories. This only manipulates the viewfinder and not the recorded media. This means you will still have complete control over the method you use to de-squeeze your recordings in post-production.
Mavis also has full colour control and gives you extensive manipulation over your image. The built in vector scope will help you to adjust the colour and you can use the waveform monitor to adjust your blacks and whites for a perfect image. These scopes will show a precise analysis of your colour values as the iPhone camera sees it. There are also plenty of resolution settings in Mavis.
You can record in resolutions up to 4K with Bit Rates up to 100mbs. You can also select different frame rates up to 240 frames a second if you wish to film in slow motion. You store these in quick set-up presets so you don’t have to keep adjusting the settings. Video files can save to the camera roll or in the Mavis app. Higher 4K resolution recordings will only save to the Mavis app and not the camera roll.
Mavis works best in manual mode so it might not be suitable for the beginner. However, the focus and exposure controls are easy to use while filming. If you are not in manual mode the on screen displays show you what the exposure and focus are doing. Adjusting the focus and exposure controls immediately switches the app into manual mode.
If you do want to change settings the menus on the left-hand side will give you quick access to various functions including the exposure and focus. Mavis is free to download if you want to try it out with your iPhone. However, to get access to its advanced functions you will need to buy some in app purchases.
![]()
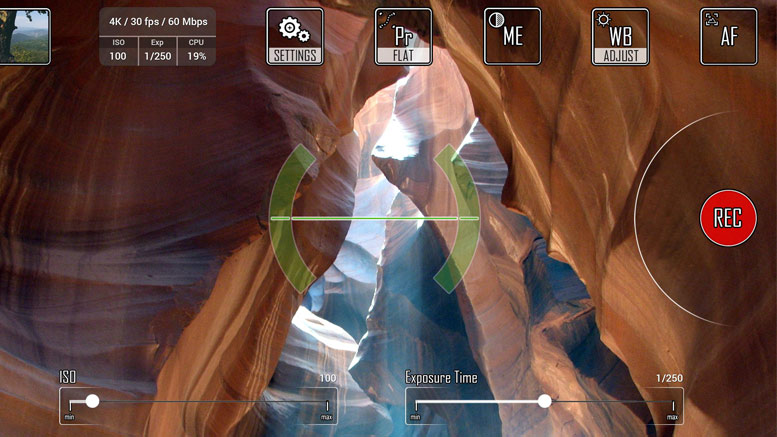
Cinema 4K
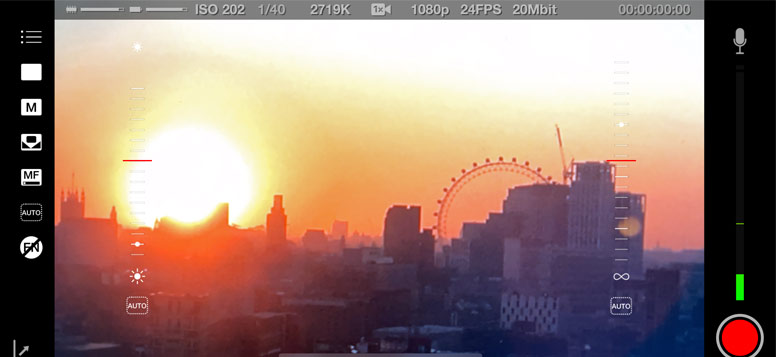
Cinema 4K is a professional camera app for Android Smartphones. What makes it different from other Android camera apps is its ability to shoot video in a flat picture profile. What this means is that you get more dynamic range in your videos so you can then professionally colour grade them in desktop video editing programs like DaVinci Resolve.

The video may look dull and flat at first but will give you multiple image choices when you come to grade it. It supports 4K video and HD in resolutions of 1080p and 720p. You can choose between frame rates of 24, 25 and 30fps and video bit rates 15mps to 200mps. It has full manual controls for white balance, exposure and focusing.
You can also lock these settings so you don’t have to continue setting them. There is a low disk space warning to let you know when you are about to run out of hard drive space and you can also save to a micro SD card if you Smartphone supports it.
![]()
Other Popular posts like this:
How do you make a Smartphone movie for TV and Cinema?
How to set up your Smartphone for video filmmaking
What is the best Smartphone filmmaking kit for Social Media?
What are the best laptops for video editing?