What are the best video camera apps for iPhone and Android Smartphones?
If you want to get the best out of your Smartphone for filming videos you are going to need a professional video camera app. Filmic Pro has long been the most favoured video camera app for making movies and is used by many professional filmmakers.
However, it has recently changed its business model and can now only be purchased with a subscription. This may not appeal to some but don’t worry. If you don’t fancy paying the weekly subscription for Filmic Pro there are some great alternative video camera apps available that will give Filmic Pro a run for its money.

Filmic Pro
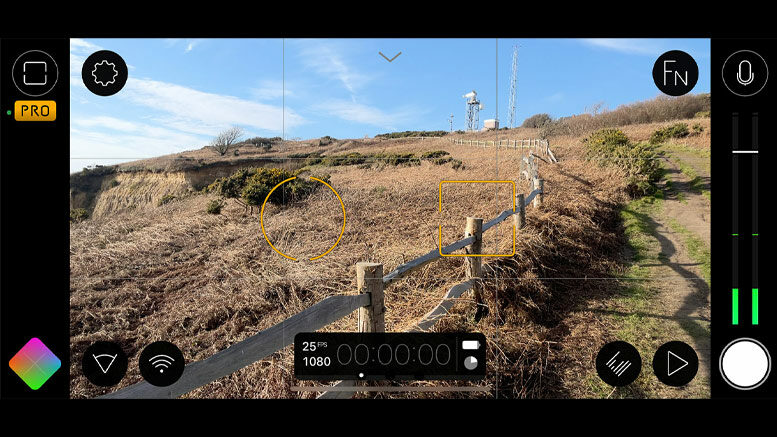
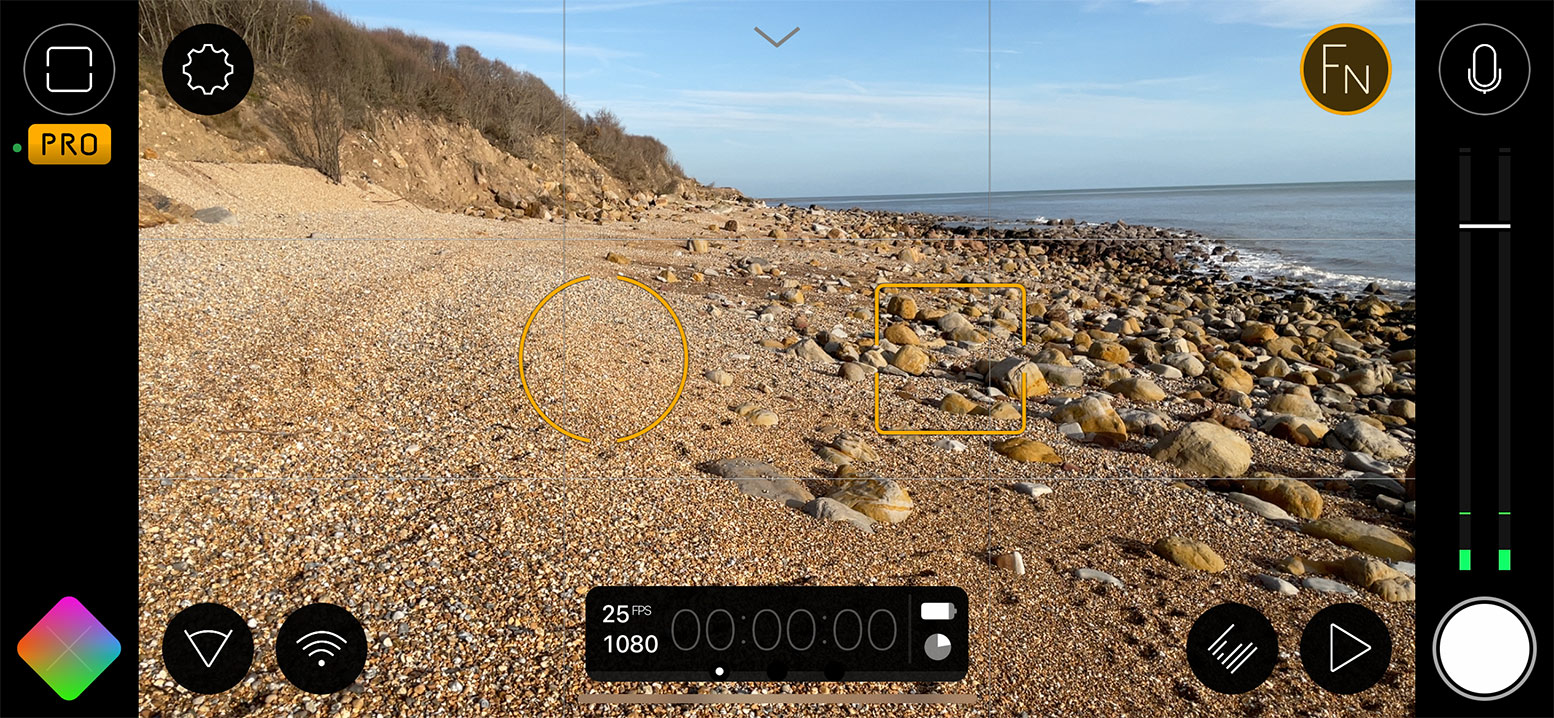
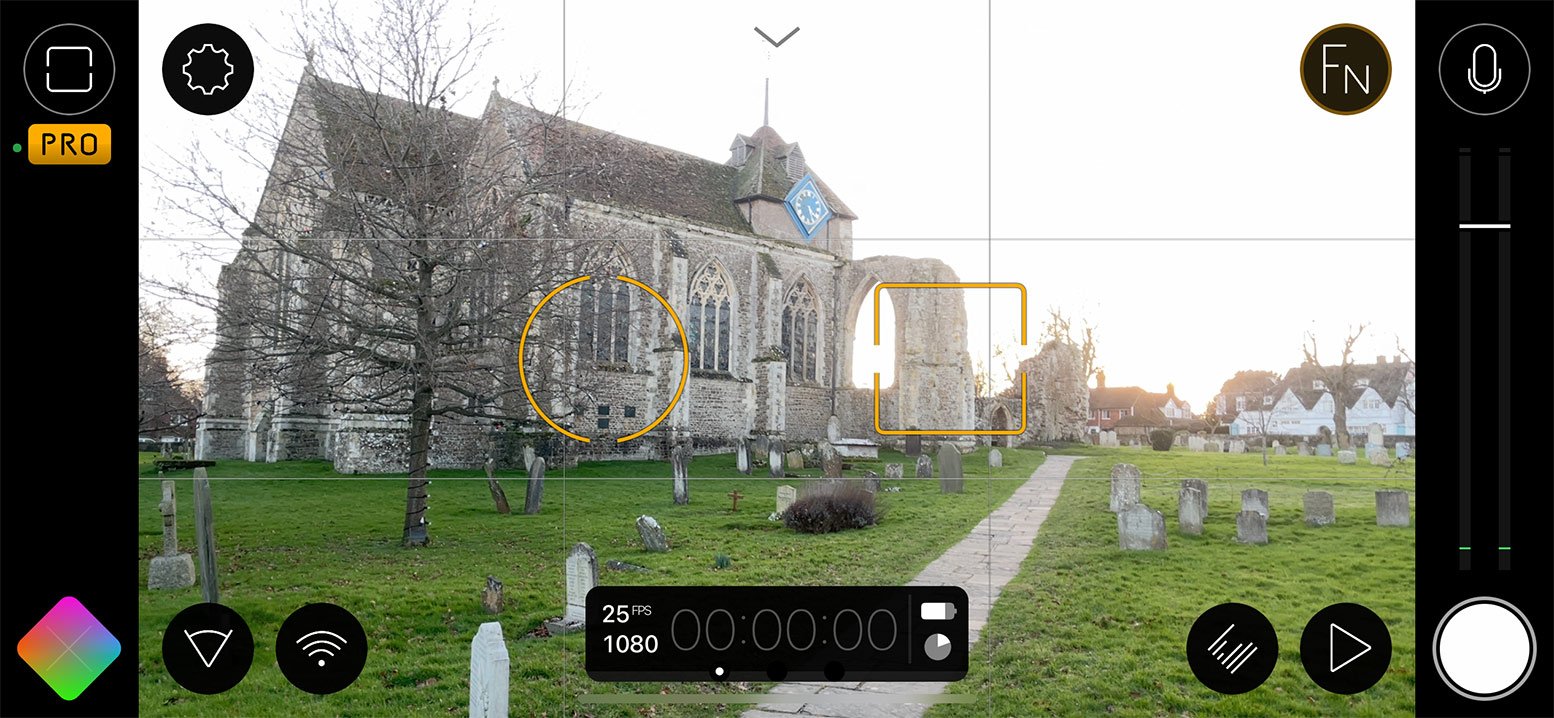
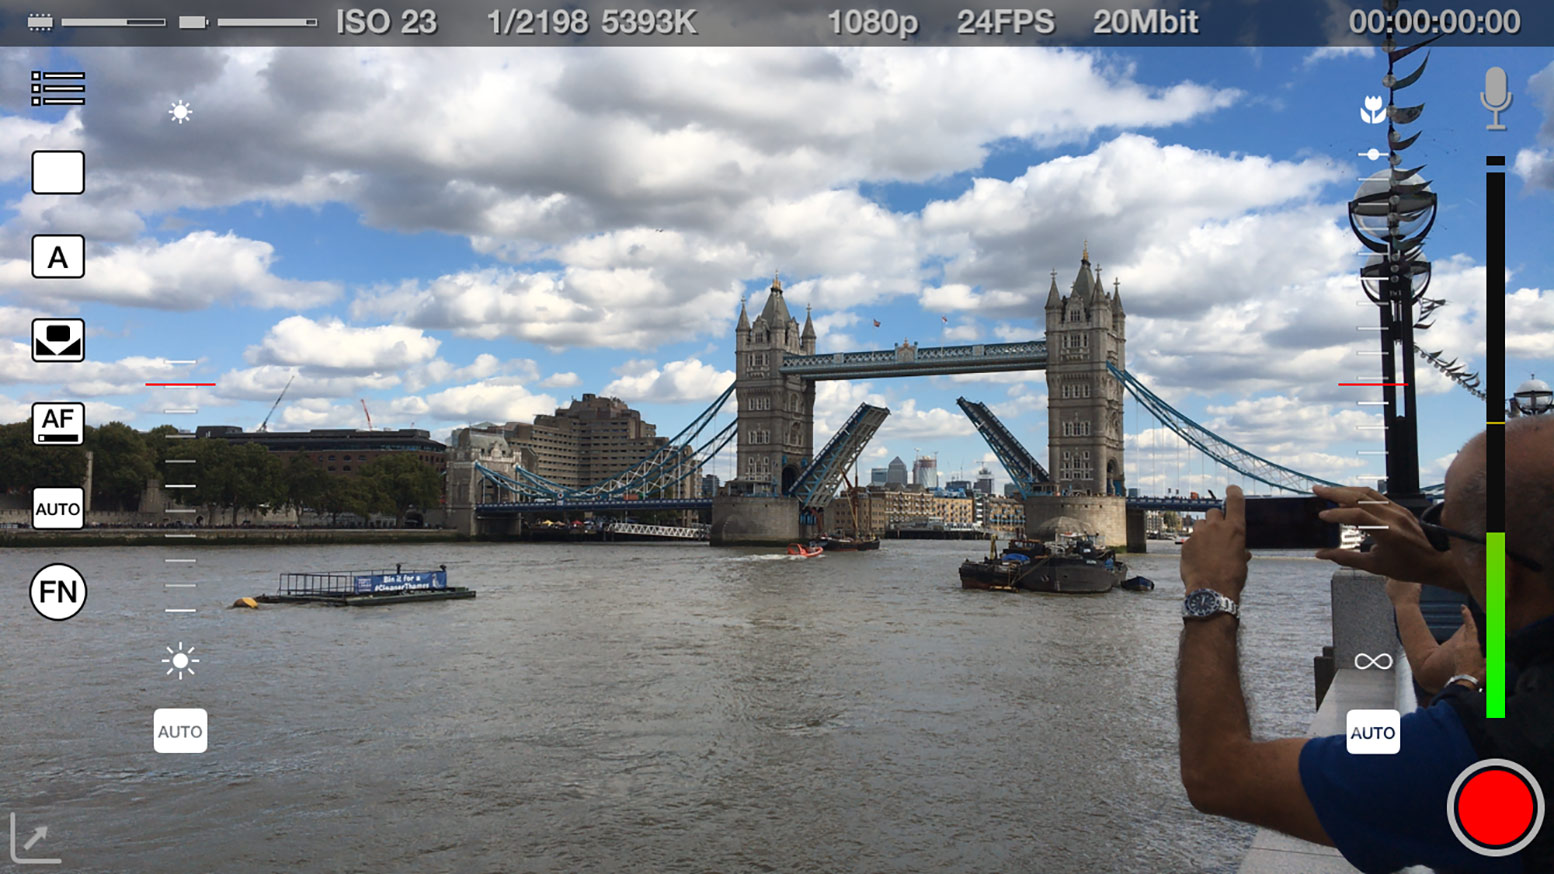
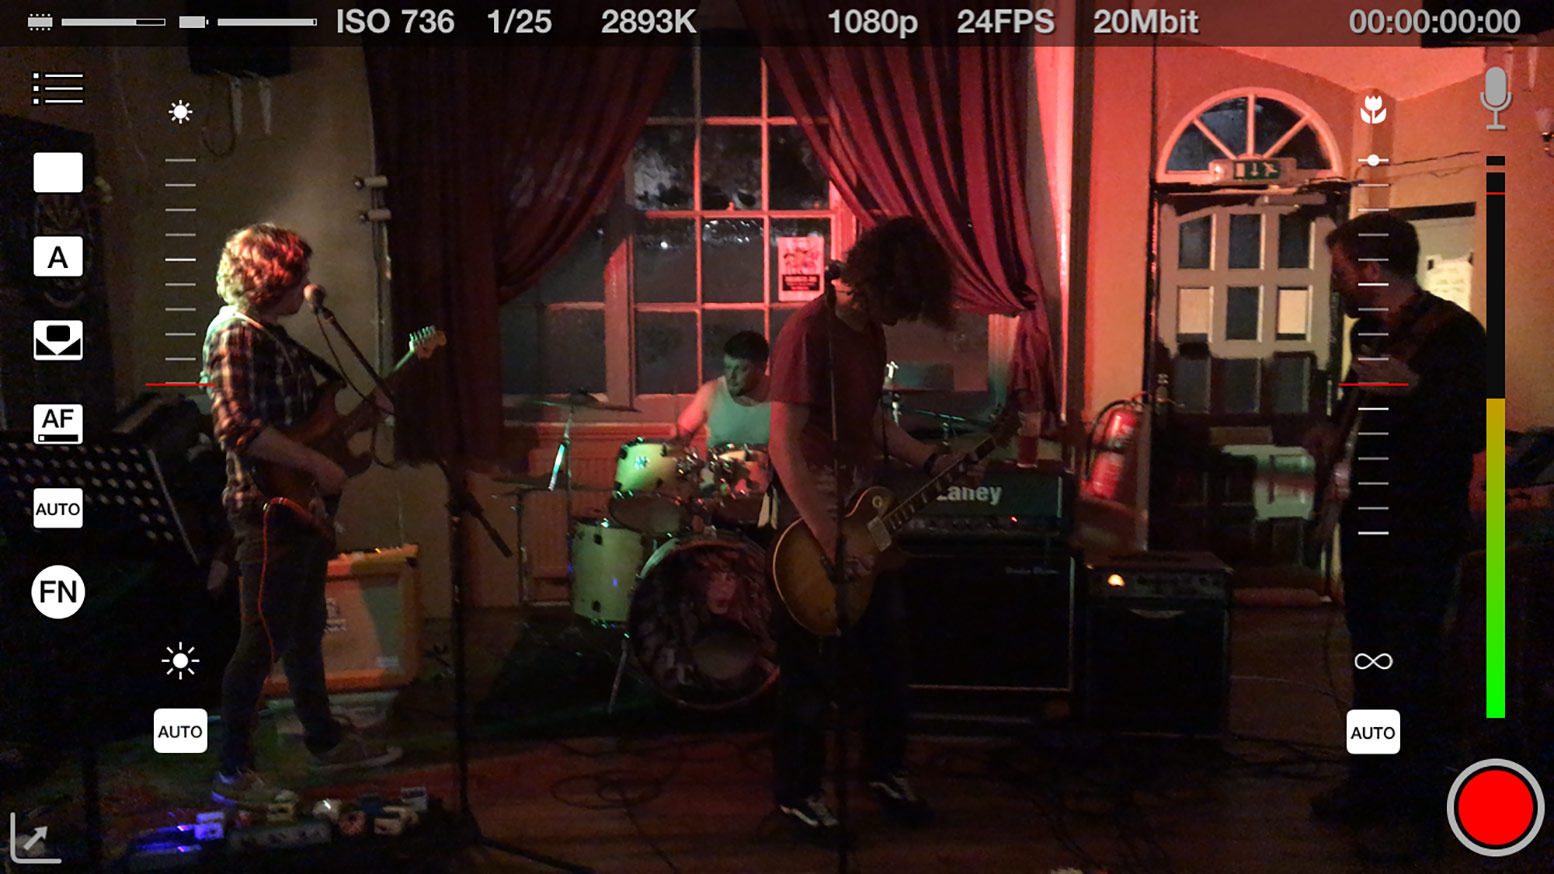
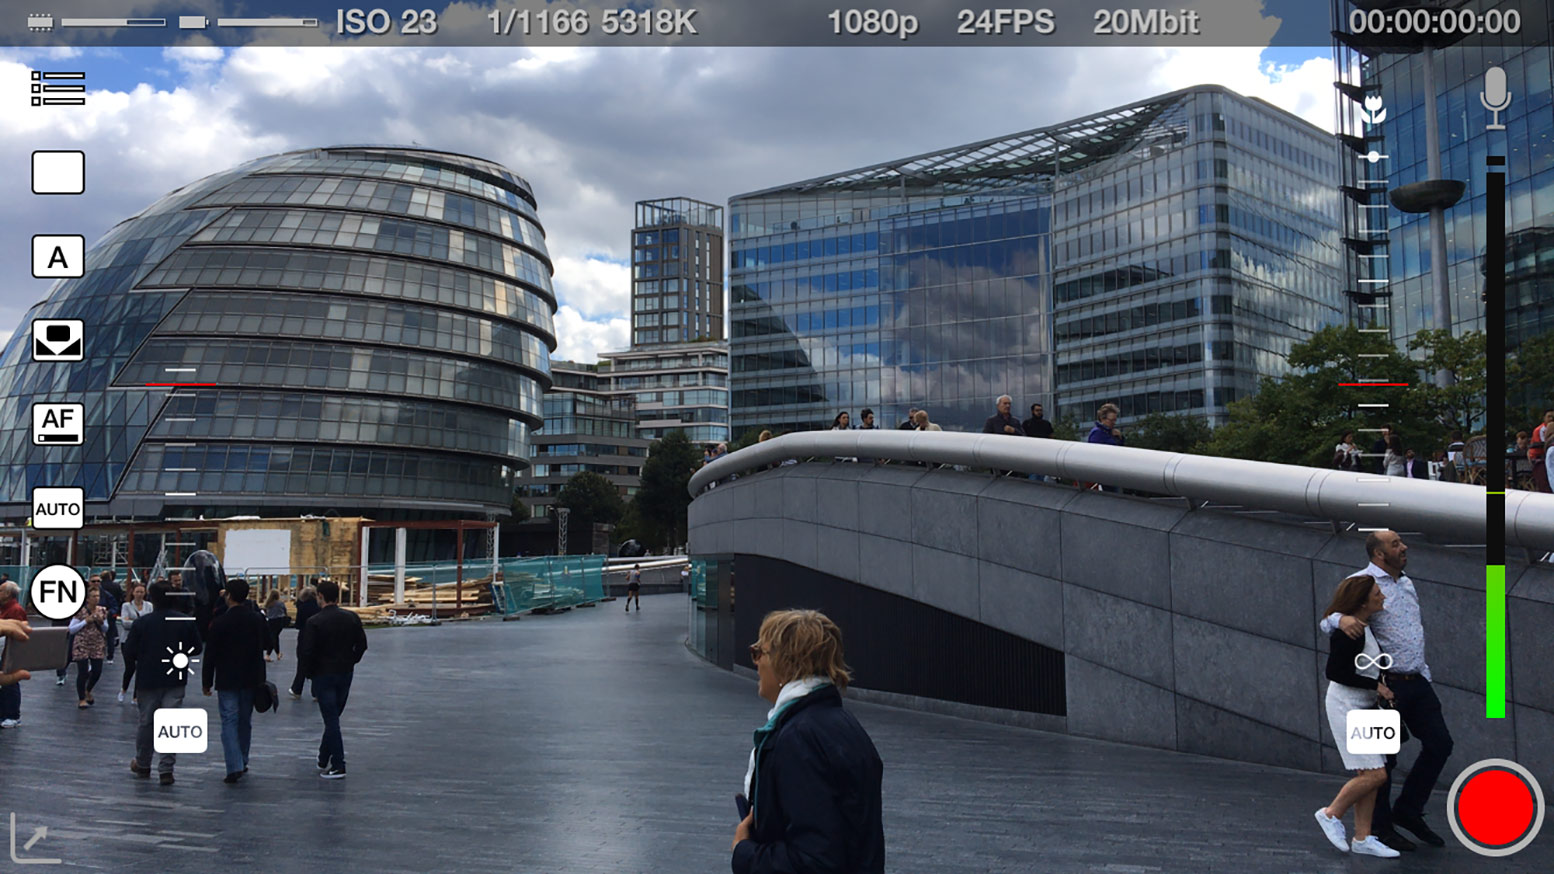
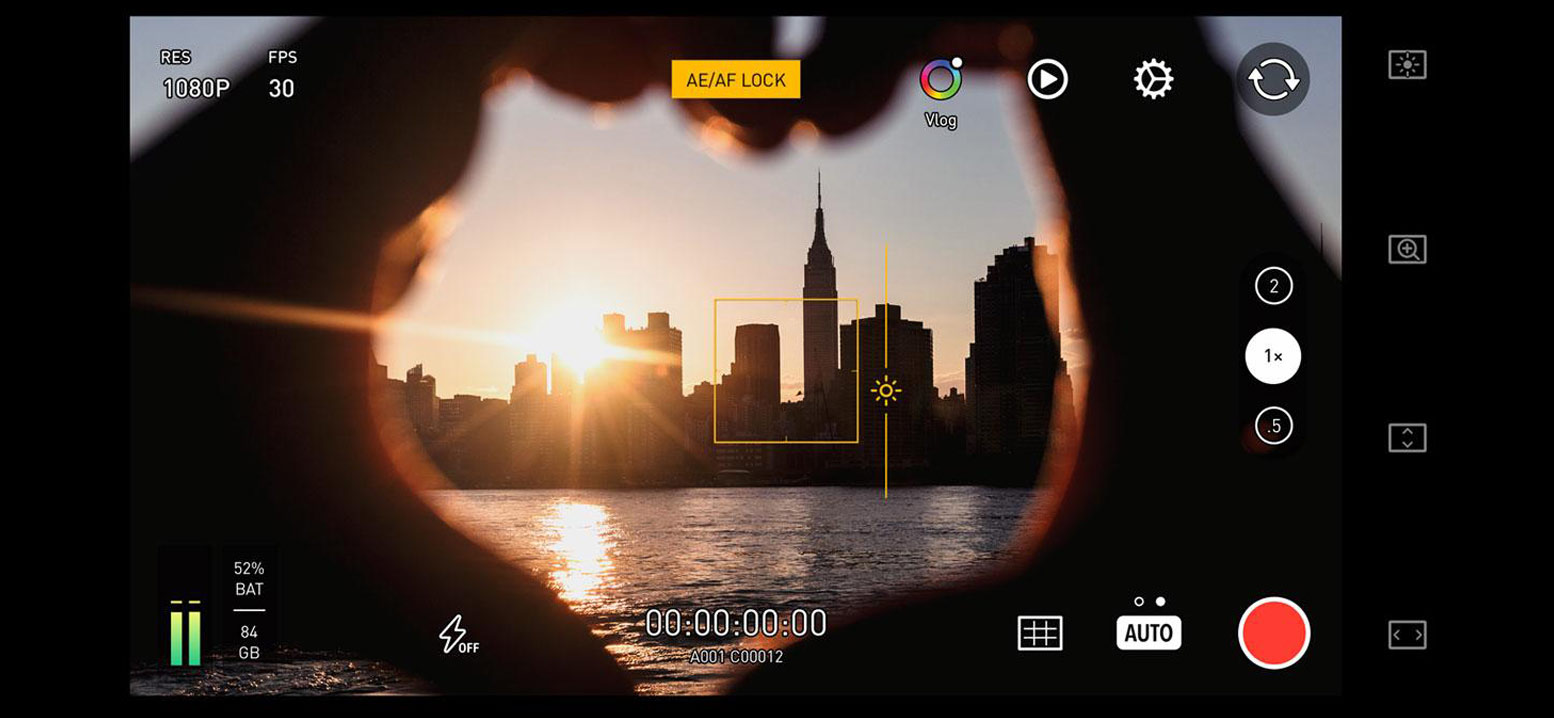
One of the most popular video camera apps is Filmic Pro. It’s been in use for countless video productions on iPhone and even for feature films like Tangerine, Unsane and High Flying Bird. Filmic Pro has been around for a while now but continues to get better with every new release. It also has many features for shooting professional video and will turn your Smartphone camera into a fully featured video camera.
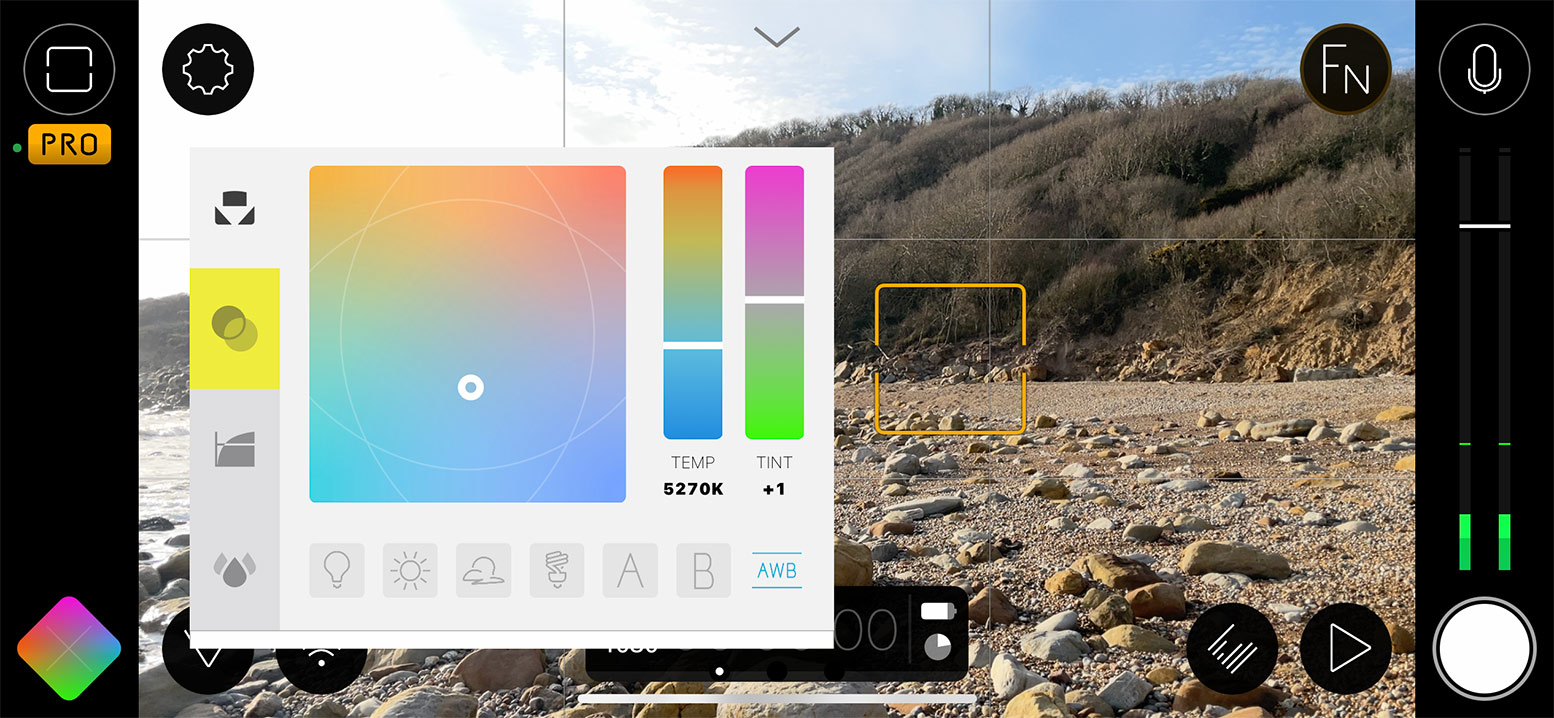
It has zoom controls, multiple frame rates, manual focus and exposure, white balance and shutter speed control. It also has on screen audio levels for recording good quality sound and manual audio gain control.
Filmic Pro has many different aspect ratio and resolution settings. You can set the frame size to 16:9 (widescreen), 4:3 (old TV standard), 1:1 (square), which is good for social media and 9:16. The higher frame rates can go up to 240 frames a second which gives you choices for slow motion and it will also do time-lapse recordings.
If you need to add Meta Data to your recordings you can add this information into Filmic Pro so each video clip you save will have a place and time. You can also save all your chosen settings as presets so you don’t have to keep changing camera functions every time you make a new video.
Filmic Pro will record a maximum resolution of 4K video at 100mbs and this will give you super high-quality video. Be aware though that your Smartphone must support this feature to be able to use it. On newer iPhones it can also record in LOG format. This will give you a flat picture profile, which is the best image for colour grading. Filmic Pro also supports third-party hardware. If you add the Moondog Labs Anamorphic lens to your iPhone the image will stretch and you will find it difficult to view it.
Filmic Pro will adapt to this lens so you can view the image correctly. Filmic Pro will also adjust to some Nikon or Canon DSLR lenses and has support for hand-held gimbals. There is also a Legacy version of Filmic Pro for older iPhone models. So if you do have an older iPhone you can still use Filmic Pro to make videos. However, you will only have access to some of Filmic Pro’s functions because of the technology limits in the older iPhone models.
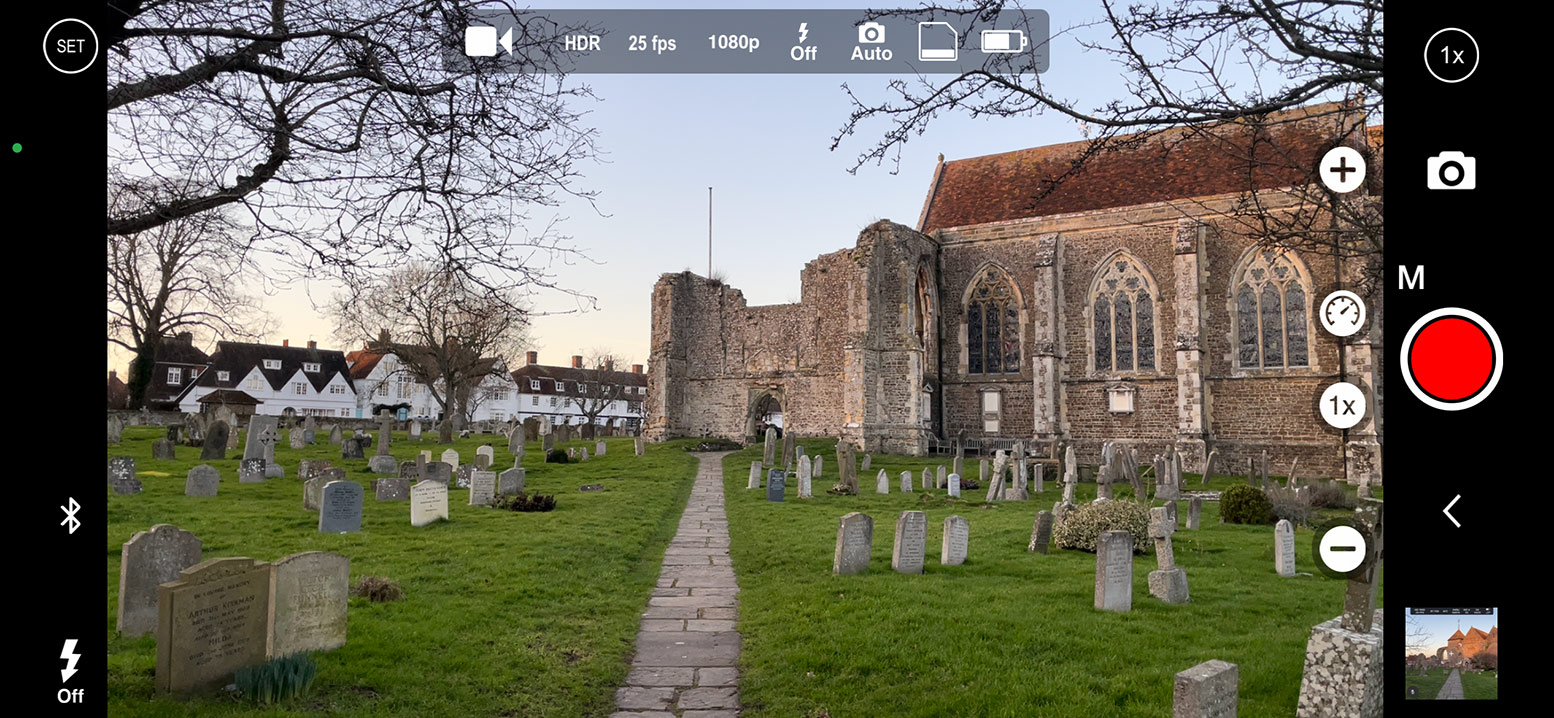
Until a few years ago Filmic Pro was only available for iPhone and iPad users. Android users could only look on with envy at the video functions that Filmic Pro gave the iPhone. But now, after months of development, the Filmic Pro team has now released a version of Filmic Pro for Android. Just like on the iPhone, Filmic Pro turns your Android Smartphone’s camera into a fully featured video camera.
Most of the functions that are available for the iPhone are available on Android. However, users should be aware that because of the many makes and models of Android Smartphones available, not all of Filmic Pro’s features may work. So before buy it, check your Android Smartphone supports Camera2 API to guarantee that Filmic Pro will function correctly. Both iOS and Android versions of Filmic Pro now require a subscription payment. This might not be ideal for some but there are alternatives.
![]()
![]()
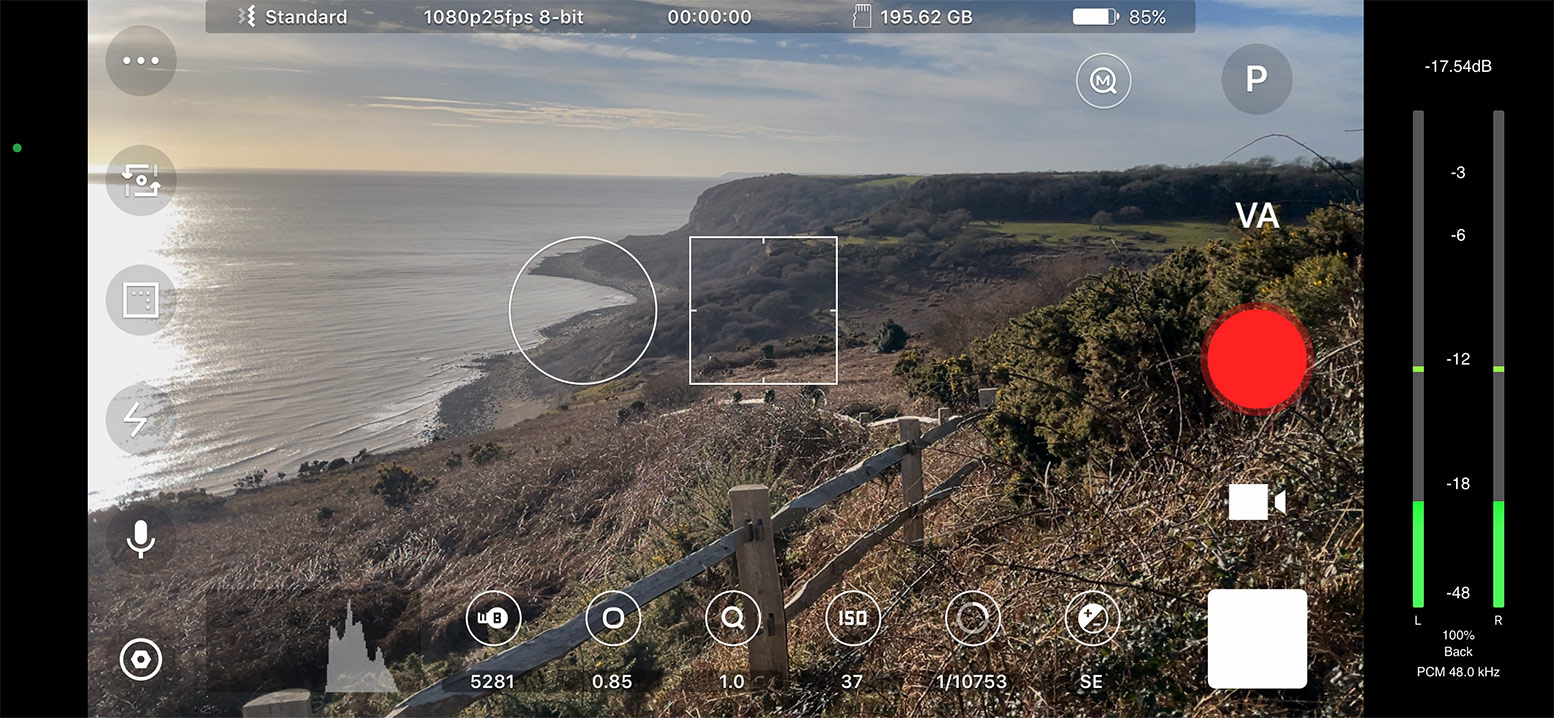
Beastcam
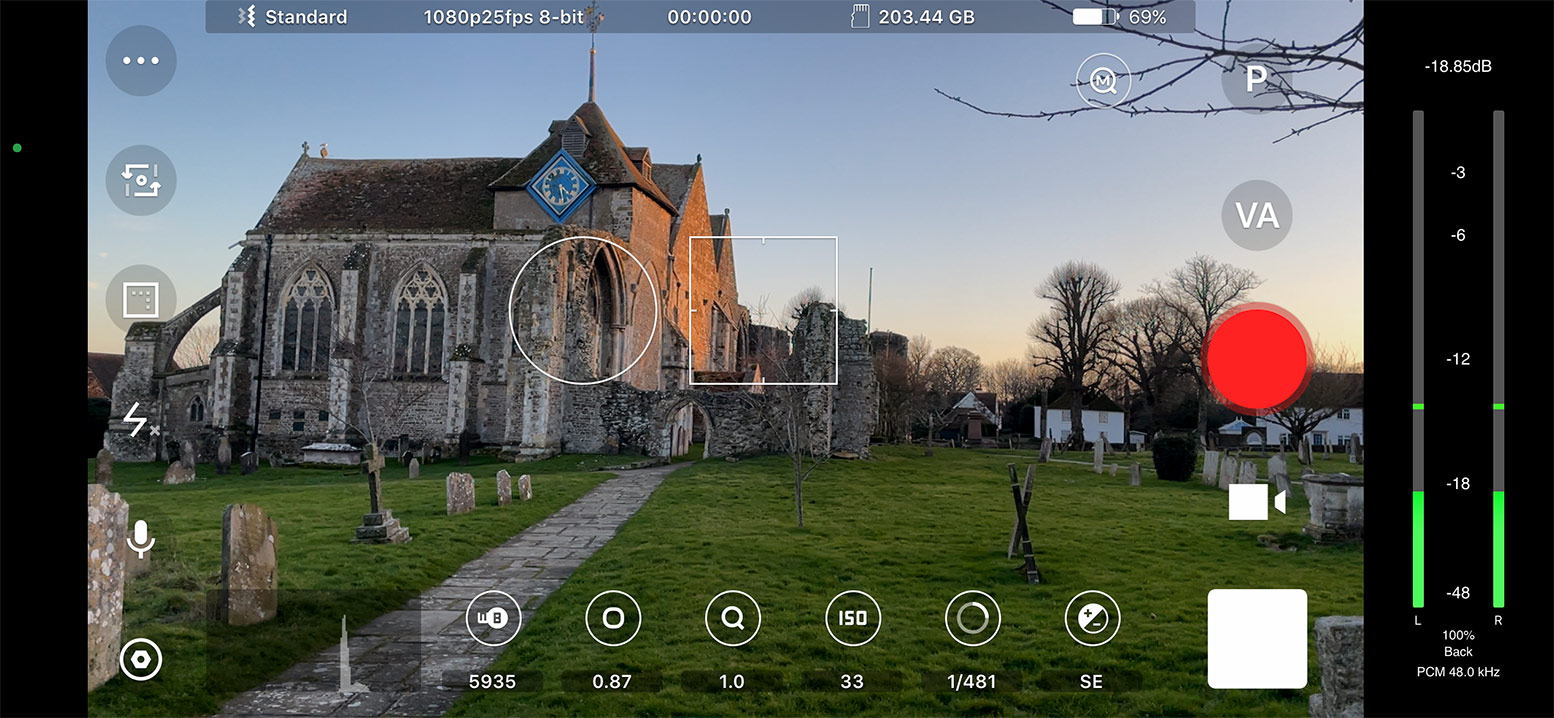
The company that makes iPhone-filming equipment BeastGrip also created a video camera app called BeastCam. Although it appears to be somewhat cluttered at first, but it quickly becomes fairly intuitive once you spend some time getting used to the arrangement.
Unlike some video camera apps, BeastCam lets you record both photos and videos, and switching between photo and video mode is simple. All of the important parameters, including shutter, ISO, white balance, and focus, can be adjusted manually. Simply tap the appropriate button to see a slider.
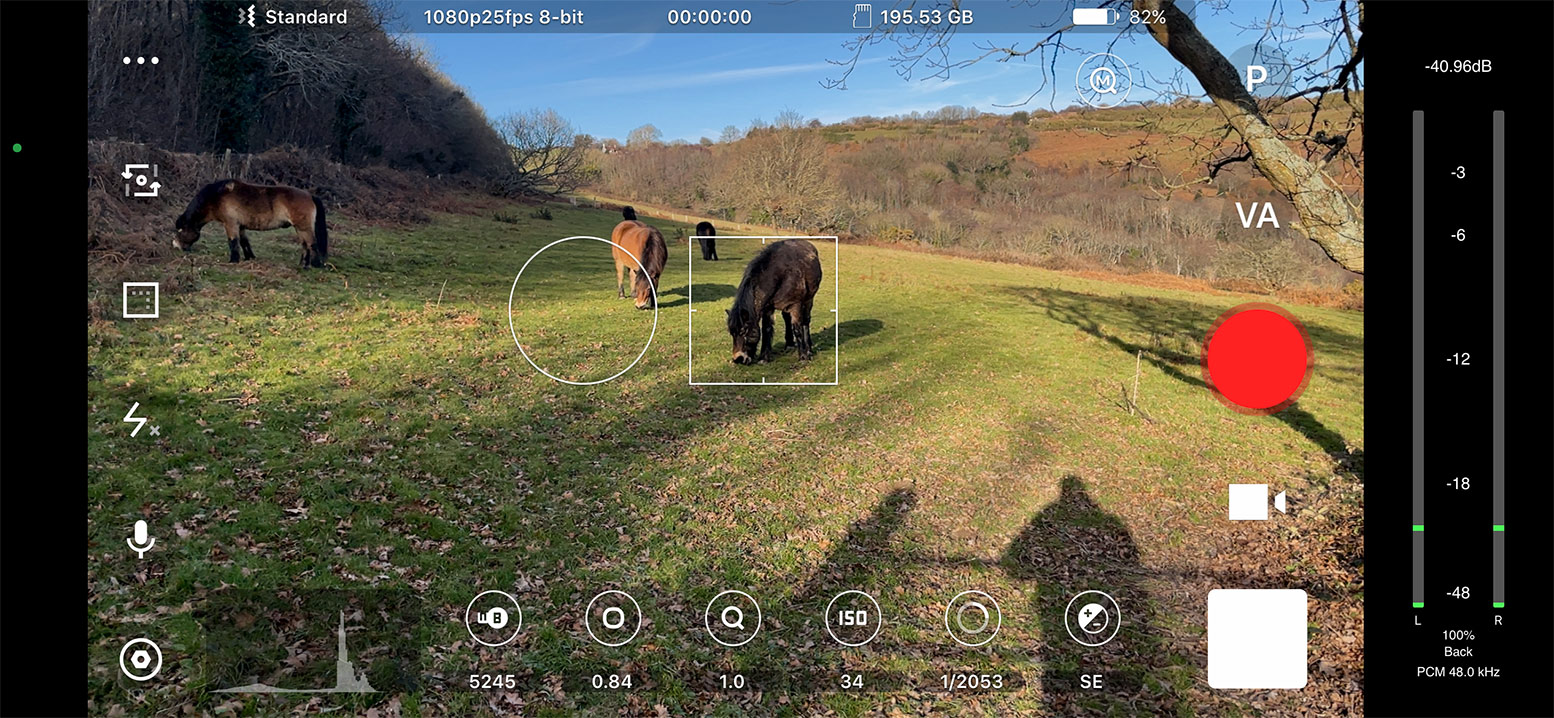
To select focus you move a slider. The buttons numbered 1 through 3 turn blue when you tap them after shifting your focus to the first point. Tap another of the numbered buttons, which will also become blue, at the second point. The button at the top enables you to precisely control the pull focus speed. Simply tap one of the blue buttons to go between each location.
In the same manner, zooms can also be automated. You can configure and lock exposure and focus using the square and circle reticules. To set focus or exposure, move the reticule over the desired region, then tap to lock.
For some of the other settings, tap the three dots in the top left corner. To make it simpler to locate the clips you need later, Digital Slate lets you customise the names of your recorded clips. There are also hardware options, mostly for iPhone conversion lenses from BeastGrip. These include DoF and the anamorphic de-squeeze settings of 1.33x and 1.55x.
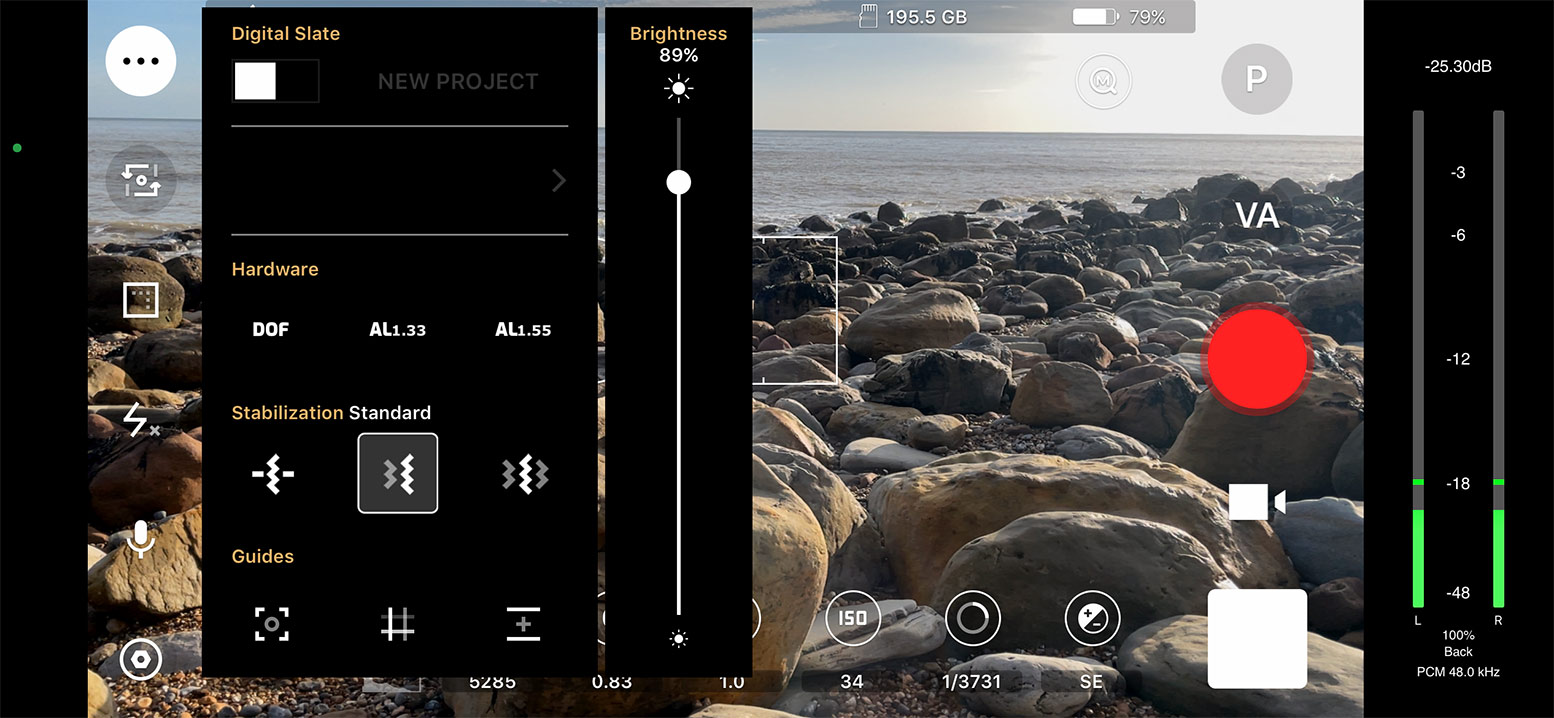
Three stabilisation options are available: off, standard, and cinematic. There are other functions you can activate, one of which lets you check the horizon level of your camera. The next button down lets you change lenses. resolution, frame rate, bitrate, and codec parameters are shown below that. So here you will find options for ProRes, 8-bit, 10-bit and 10-bit HDR.
Below the audio controls is another settings button. Manual and smart exposure modes are selectable at the top. You are advised to apply Smart exposure in a window that appears. However, if you select Smart Exposure, you are no longer able to manually adjust ISO and shutter speed.
Analytical overlays are present. Depending on the control you are using, zebras or focus peaking will appear if you select Auto.
![]()
ProCam
Another great video camera app for the iPhone is ProCam. Although marketed as a stills camera app, ProCam has an excellent feature set for video. It has all the manual controls you would expect including exposure, white balance, ISO, manual focus and shutter speed control. ProCam also has an impressive selection of frame rates. You can shoot at 24, 25 and 30 frames a second. You can also adjust up to 120 frames a second in 1080 HD if you want to film in slow motion.
Resolution size is fully adjustable and ProCam will record right up to Ultra HD 4K with a frame size of 3840 x 2160. You can also upgrade to Super 4K with an in app purchase which will push the iPhone right up to a frame size of 4038 x 2268 and 150mbs.

Other useful features include on screen audio levels so you can see how loud your audio is from a connected microphone. But be aware you cannot control audio gain like you can in Filmic Pro. There is also video stabilisation and a hard drive space gauge.
Another feature is the built in video editor. This is not as advanced as other dedicated video editing apps but might be useful for the odd quick edit if your video needs it.
![]()
Moment Camera App
Like BeastGrip, Moment makes and sells camera accessories, including conversion lenses for Smartphones. They also have their own video camera app for iPhone. The interface is nice and simple. You can manually set ISO, shutter speed, white balance and focus by swiping the menu bar and tapping the setting.
You can shoot photos and videos. There’s also a slow shutter feature for photos and a time-lapse feature which allows you to add motion blur.
There’s a button top right for switching lenses on your iPhone, but you have to cycle through to get the lens you want rather than getting a list to choose from. There’s grids and guides, a couple of histograms, analytics overlays and support for use with Osmo Mobile gimbals.
There are also settings for use with Moment’s conversion lenses and there are three colour profiles available that include regular, flat and Log.
It’s easy to set resolution and frame rate. But if you want to change codec you need to go into the settings and scroll down a list. There’s no Dolby Vision or ProRes available. You just get the standard h.264 or h.265 codecs. Choices for stabilisation are just on or off.
However, you can set bitrate up to 100mbps. You can also access PAL frame rates as well, should you need them. If you swipe on the audio meter you get a level control for monitoring.
![]()
Mavis
Mavis is another professional video camera app that gives you full manual control over your iPhone’s camera. It is similar to Filmic Pro and recently the designers updated the app to give it many new features. In the latest version they have redesigned many tools to give the app greater use in video production.
The audio tools give full support for internal and external audio sources. You can connect a microphone by the lightning port or the headphone port and use Mavis to monitor and record the incoming audio.
The app also has audio gain control for both internal and external microphones so you can adjust your audio levels. You can also see where your audio is peaking with the on screen audio levels. Another great feature in Mavis is real-time audio pass through.
This means that if your microphone has a headphone port you can add headphones so you can hear the audio as it records. This is useful for making sure your audio records to a high standard.
The viewfinder in Mavis has support for Moondog’s anamorphic lens and the Beastgrip DOF adaptor. This de-squeezes the image so you can see the image clearly after the lens correction. This also makes framing shots a lot easier when using these hardware accessories.
This only manipulates the viewfinder and not the recorded media. This means you will still have complete control over the method you use to de-squeeze your recordings in post-production.
Mavis also has full colour control and gives you extensive manipulation over your image. The built in vector scope will help you to adjust the colour and you can use the waveform monitor to adjust your blacks and whites for a perfect image. These scopes will show a precise analysis of your colour values as the iPhone camera sees it.
There are also plenty of resolution settings in Mavis. You can record in resolutions up to 4K with Bit Rates up to 100mbs. You can also select different frame rates up to 240 frames a second if you wish to film in slow motion. You store these in quick set-up presets so you don’t have to keep adjusting the settings.
Video files can save to the camera roll or in the Mavis app. Higher 4K resolution recordings will only save to the Mavis app and not the camera roll.
Mavis works best in manual mode so it might not be suitable for the beginner. However, the focus and exposure controls are easy to use while filming. If you are not in manual mode the on screen displays show you what the exposure and focus are doing. Adjusting the focus and exposure controls immediately switches the app into manual mode.
If you do want to change settings the menus on the left-hand side will give you quick access to various functions including the exposure and focus. Mavis is free to download if you want to try it out with your iPhone. However, to get access to its advanced functions you will need to buy some in app purchases.
![]()
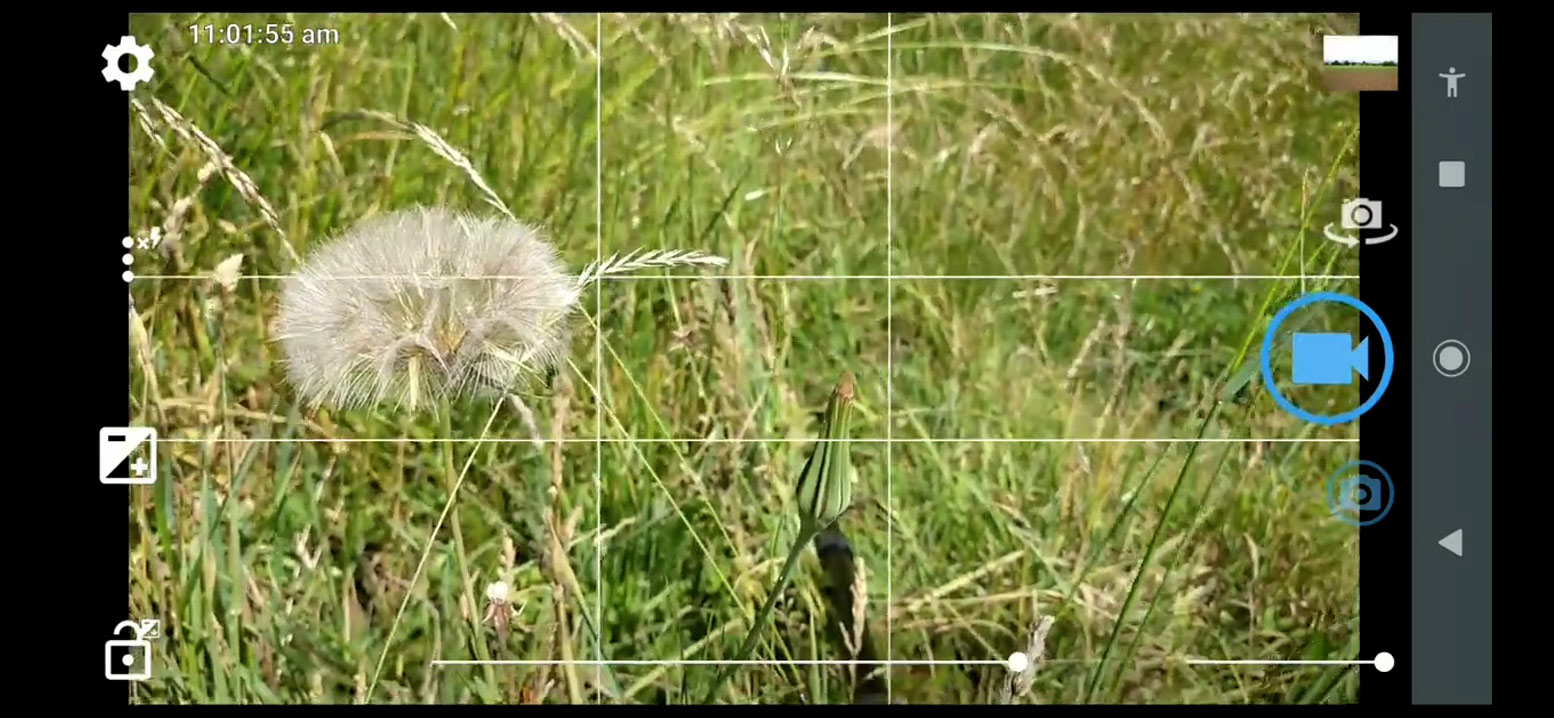
Open Camera
Open Camera is a free app for Android with many pro features hidden behind a simple user interface that is set up to your own preference. The three bottom icons on the left side of the screen control resolution, focus mode, ISO, shutter speed, and exposure lock.

The slider on the bottom right side is for zoom. However, you will have to go into settings and turn on the Camera2 API to unlock the full suite of features.

With the Camera2 API, you can change the video format to H.264 or H.265 or pick colour profiles, such as LOG, Gamma, SRGB, and Rec. 709. You also get essential monitoring features like zebra stripes, focus peaking, and a histogram display.
In addition, you can turn on the audio level meter, adjust bitrate and frame rate and select the maximum video duration.
![]()
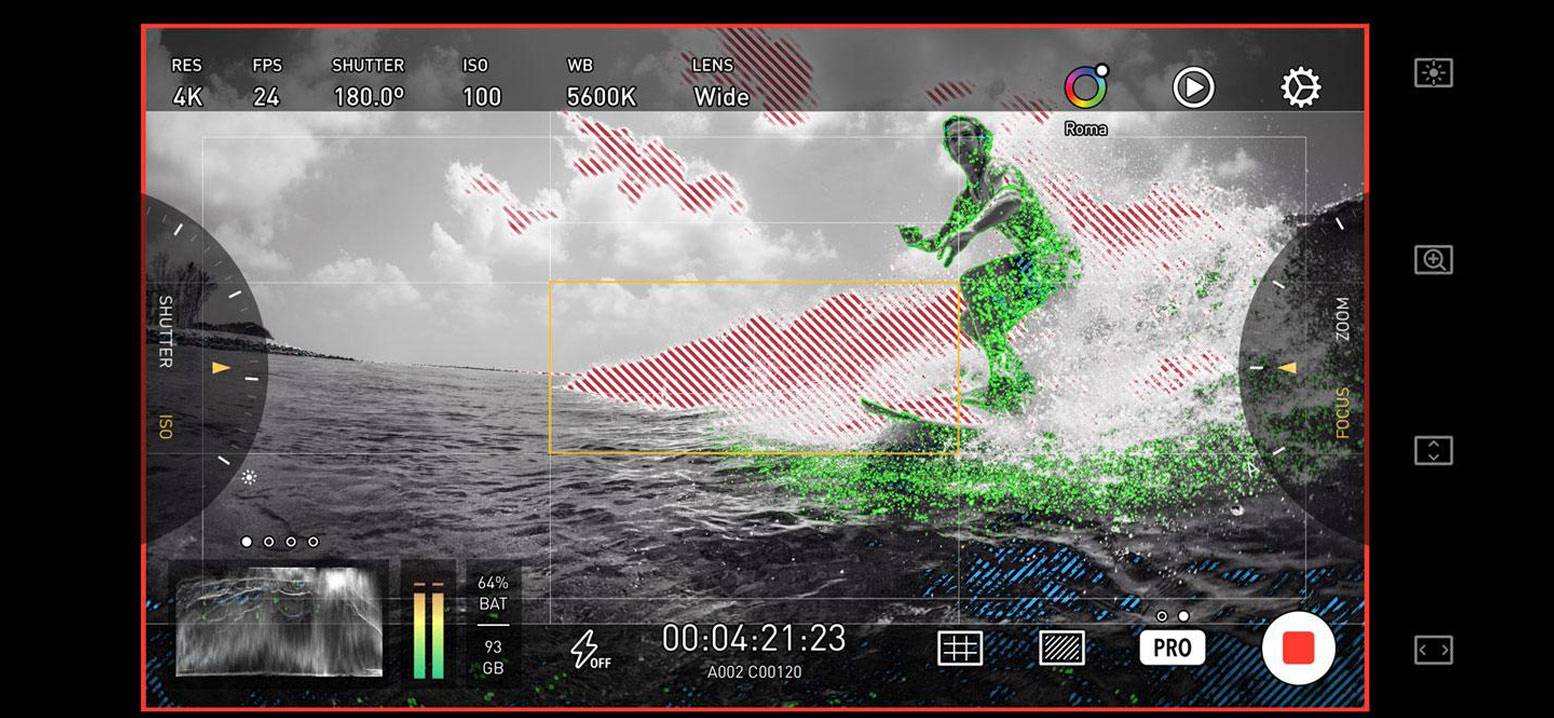
ProTake
ProTake is a video camera app for iOS and Android Smartphones. There are features like manual control over ISO, shutter speed, white balance, focus and zoom. The app also supports histograms, an audio level meter, focus peaking and zebra lines. All the features on the screen can look a bit chaotic, but ProTake uses the space well.
Graphical details like the focus/zoom wheel and expandable menus make it look less cluttered. It’s also easy to hide the user interface if you prefer a clean view. ProTake supports LOG and Alexa 709 colour profiles. So you have plenty of choices for colour grading.
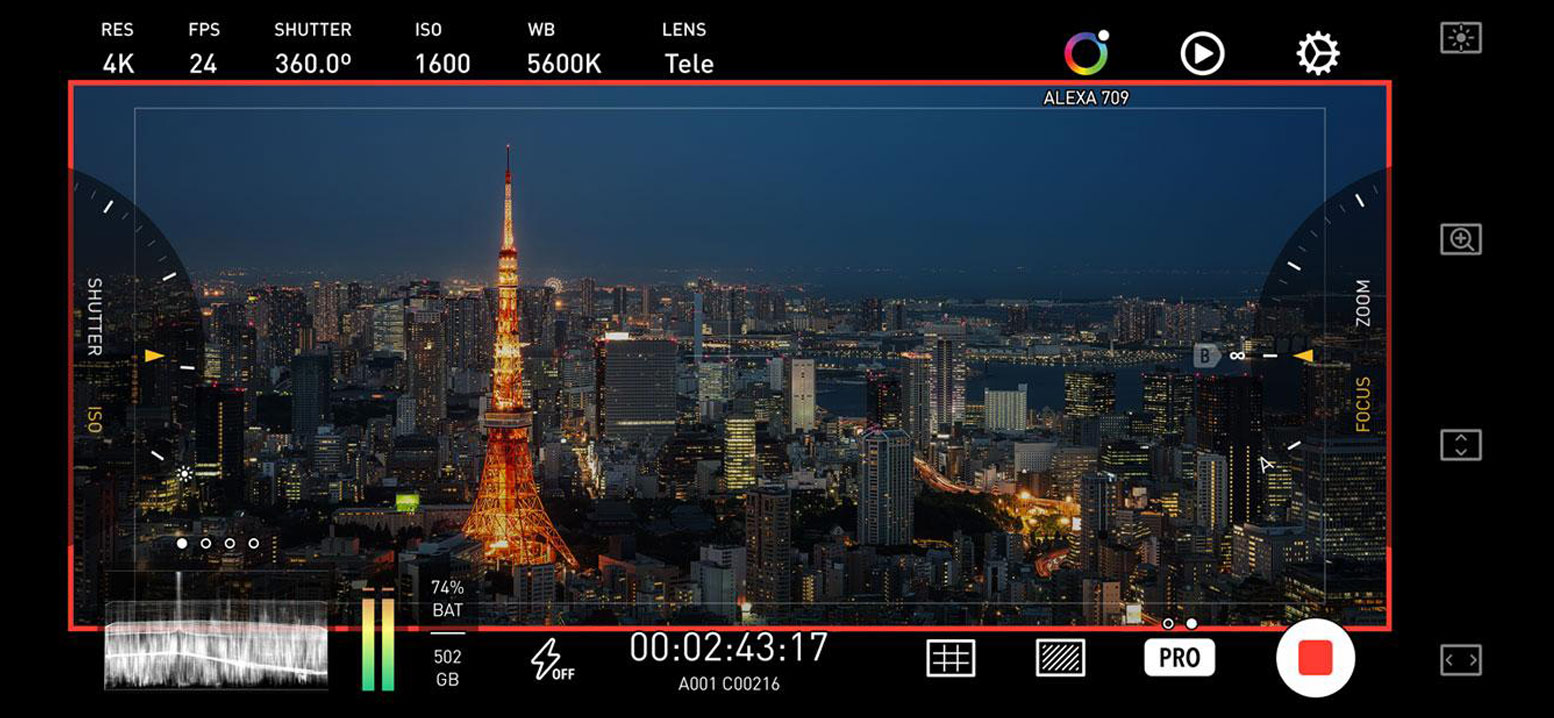
There is a dual mode for recording video with two cameras working at the same time. These cans be recorded in one file as Picture in Picture or as two individual video files.
There is also a portrait mode so with the iPhone Pro’s LiDAR sensor and its powerful processors; you can record portrait mode video with a real-time blurred background. You can download and use ProTake for free but to unlock ProTake’s full functionality will require paying a subscription.
![]()
![]()
Cinema P3
Cinema P3 is a professional video camera app for iPhone which allows you to customise the way the interface works, so you can set it up to work the way you prefer. There are no reticules but the bar at the top displays your most important settings. You can tap these settings to bring up the relevant controls.

Tap the button bottom left to open up three different modes: photo, video or creative. Photo and video modes also allow you to choose lenses. Creative mode gives you various LUTs and other colour profiles including Log settings.

Tap the filmstrip button to bring up a resolution, frame rate and codec choices. This includes a colour setting called P3, which is said to offer up to 25% more colour than standard video. Tap the spanner button to bring up a host of settings. If you want full manual control you can switch exposure to manual here. There are two levels of cinematic stabilisation.
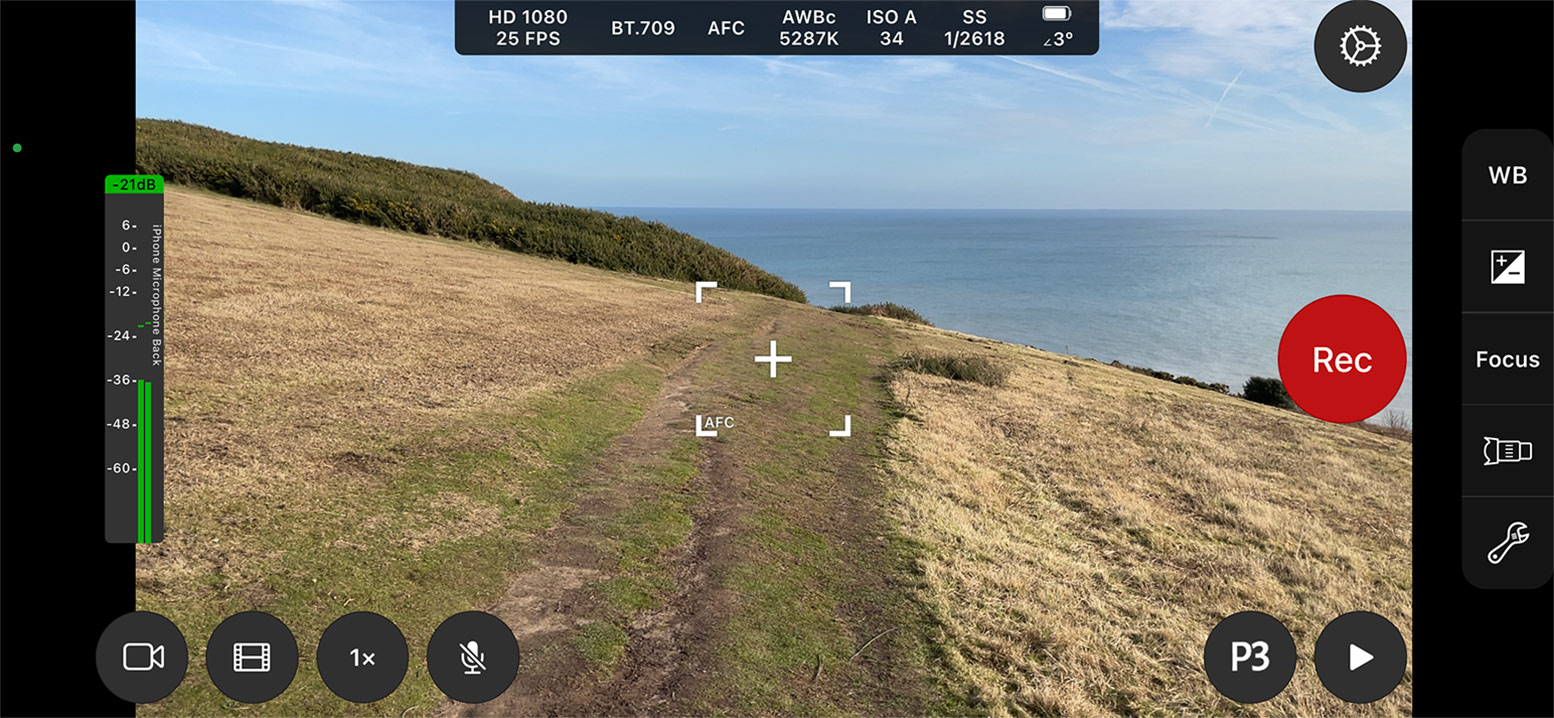
You can toggle between global and local dynamic tone mapping. Use local if you want to reduce the way dynamic tone mapping overrides manual exposure. The video settings include different ProRes formats. There are also audio controls, including switching on or off an audio level meter. Next along we have Tools, which includes displaying a manual focus loupe. What this does is zoom in on a portion of the image so you can more easily set focus exactly.
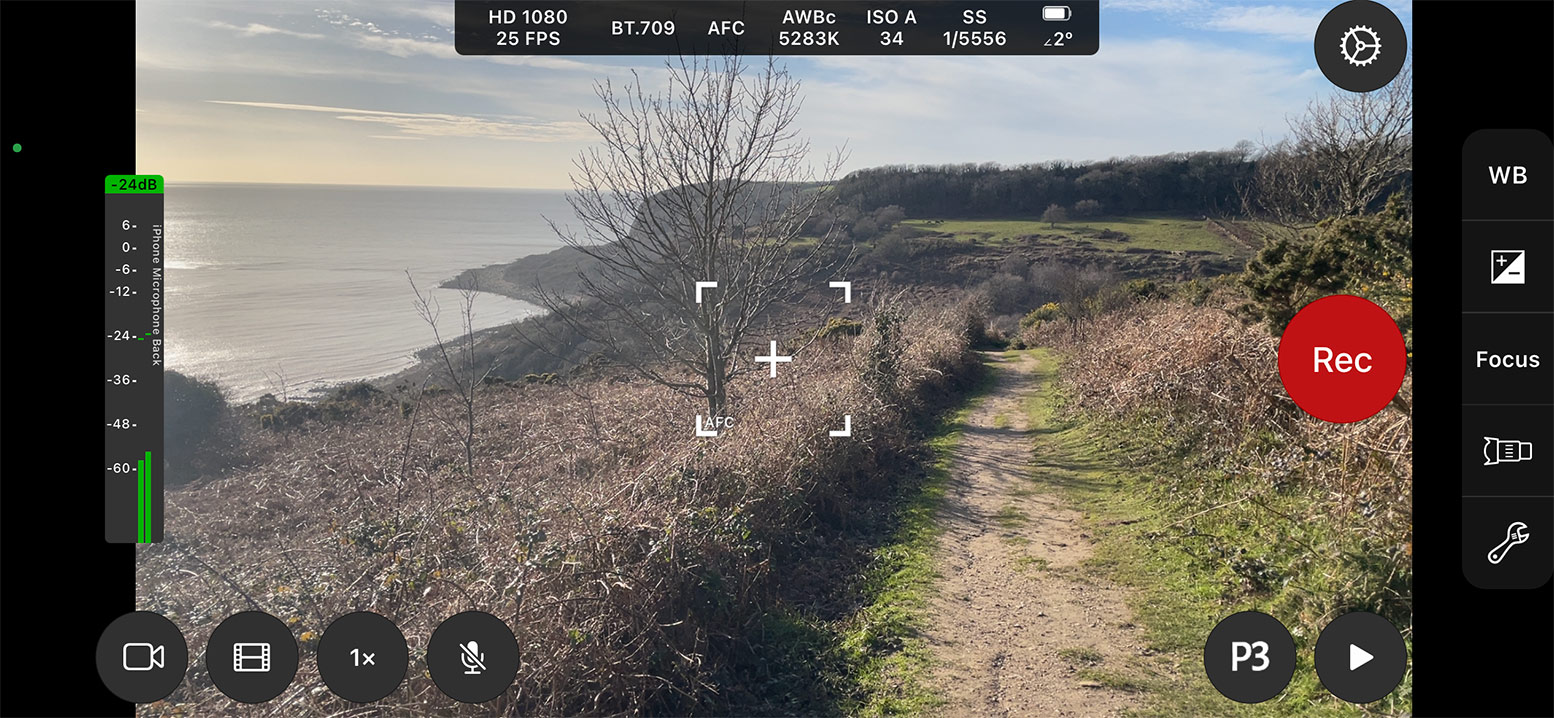
Once it’s on, open manual focus and you will get this zoomed in circle. You can move this around to the point you want to be in focus. You can customise display settings, which includes locking your screen to 100% brightness. While having a dimmed screen saves battery, it also misleads you when you are trying to set exposure. You can also switch screen dimming off completely.
![]()
Other Popular posts like this:
The SmallRig P20 Smartphone accessory allows you to shoot horizontally and vertically
Is the Zacuto Smart Z-Finder the perfect viewfinder for Smartphone filmmakers?
Is the Snap Filter the best lens filter for the iPhone?