The Ultimate beginners guide to filming with an iPad
iPads excel as a filmmaking tool due to their ability to deliver immediate videos without the need for an abundance of pricey gear. For those accustomed to touch screen devices, capturing footage with an iPad requires minimal to no guidance. Nevertheless, this guide aims to elevate your filmmaking endeavours, infusing a more cinematic quality into your productions.
Film in Landscape Position
The first piece of advice is to hold your iPad sideways or in landscape position. If you want to use your video clips for a 16:9, 4:3, or a 1:1 screen size, you should always film in landscape position. It may seem obvious to film in landscape, but most people do not. We naturally hold our iPads vertically, so in our minds, it makes perfect sense to film this way.
Sometimes you may need to film your video in portrait. You would shoot a video this way for the apps TikTok and IGTV. You may also want to film portrait for some vertical advertising display screens, but most videos will benefit from landscape filming.
Set Exposure and Focus
It is important to set and lock the exposure and focus on your video camera app for every shot you do. When you are in a hurry, it is easy to forget to do this but the results can be disastrous. Nothing says amateur more than a video that is out of focus or the exposure is too light or too dark. Luckily this problem is easy to fix.
Before you start filming, let your iPad set the focus and exposure in the automatic setting to get the best-looking image. If it is failing to do this, then go into the manual setting in your video camera app and manually set the focus and exposure. You can use histograms and light meters to help you do this, but if they are not available, trust your eye instead.
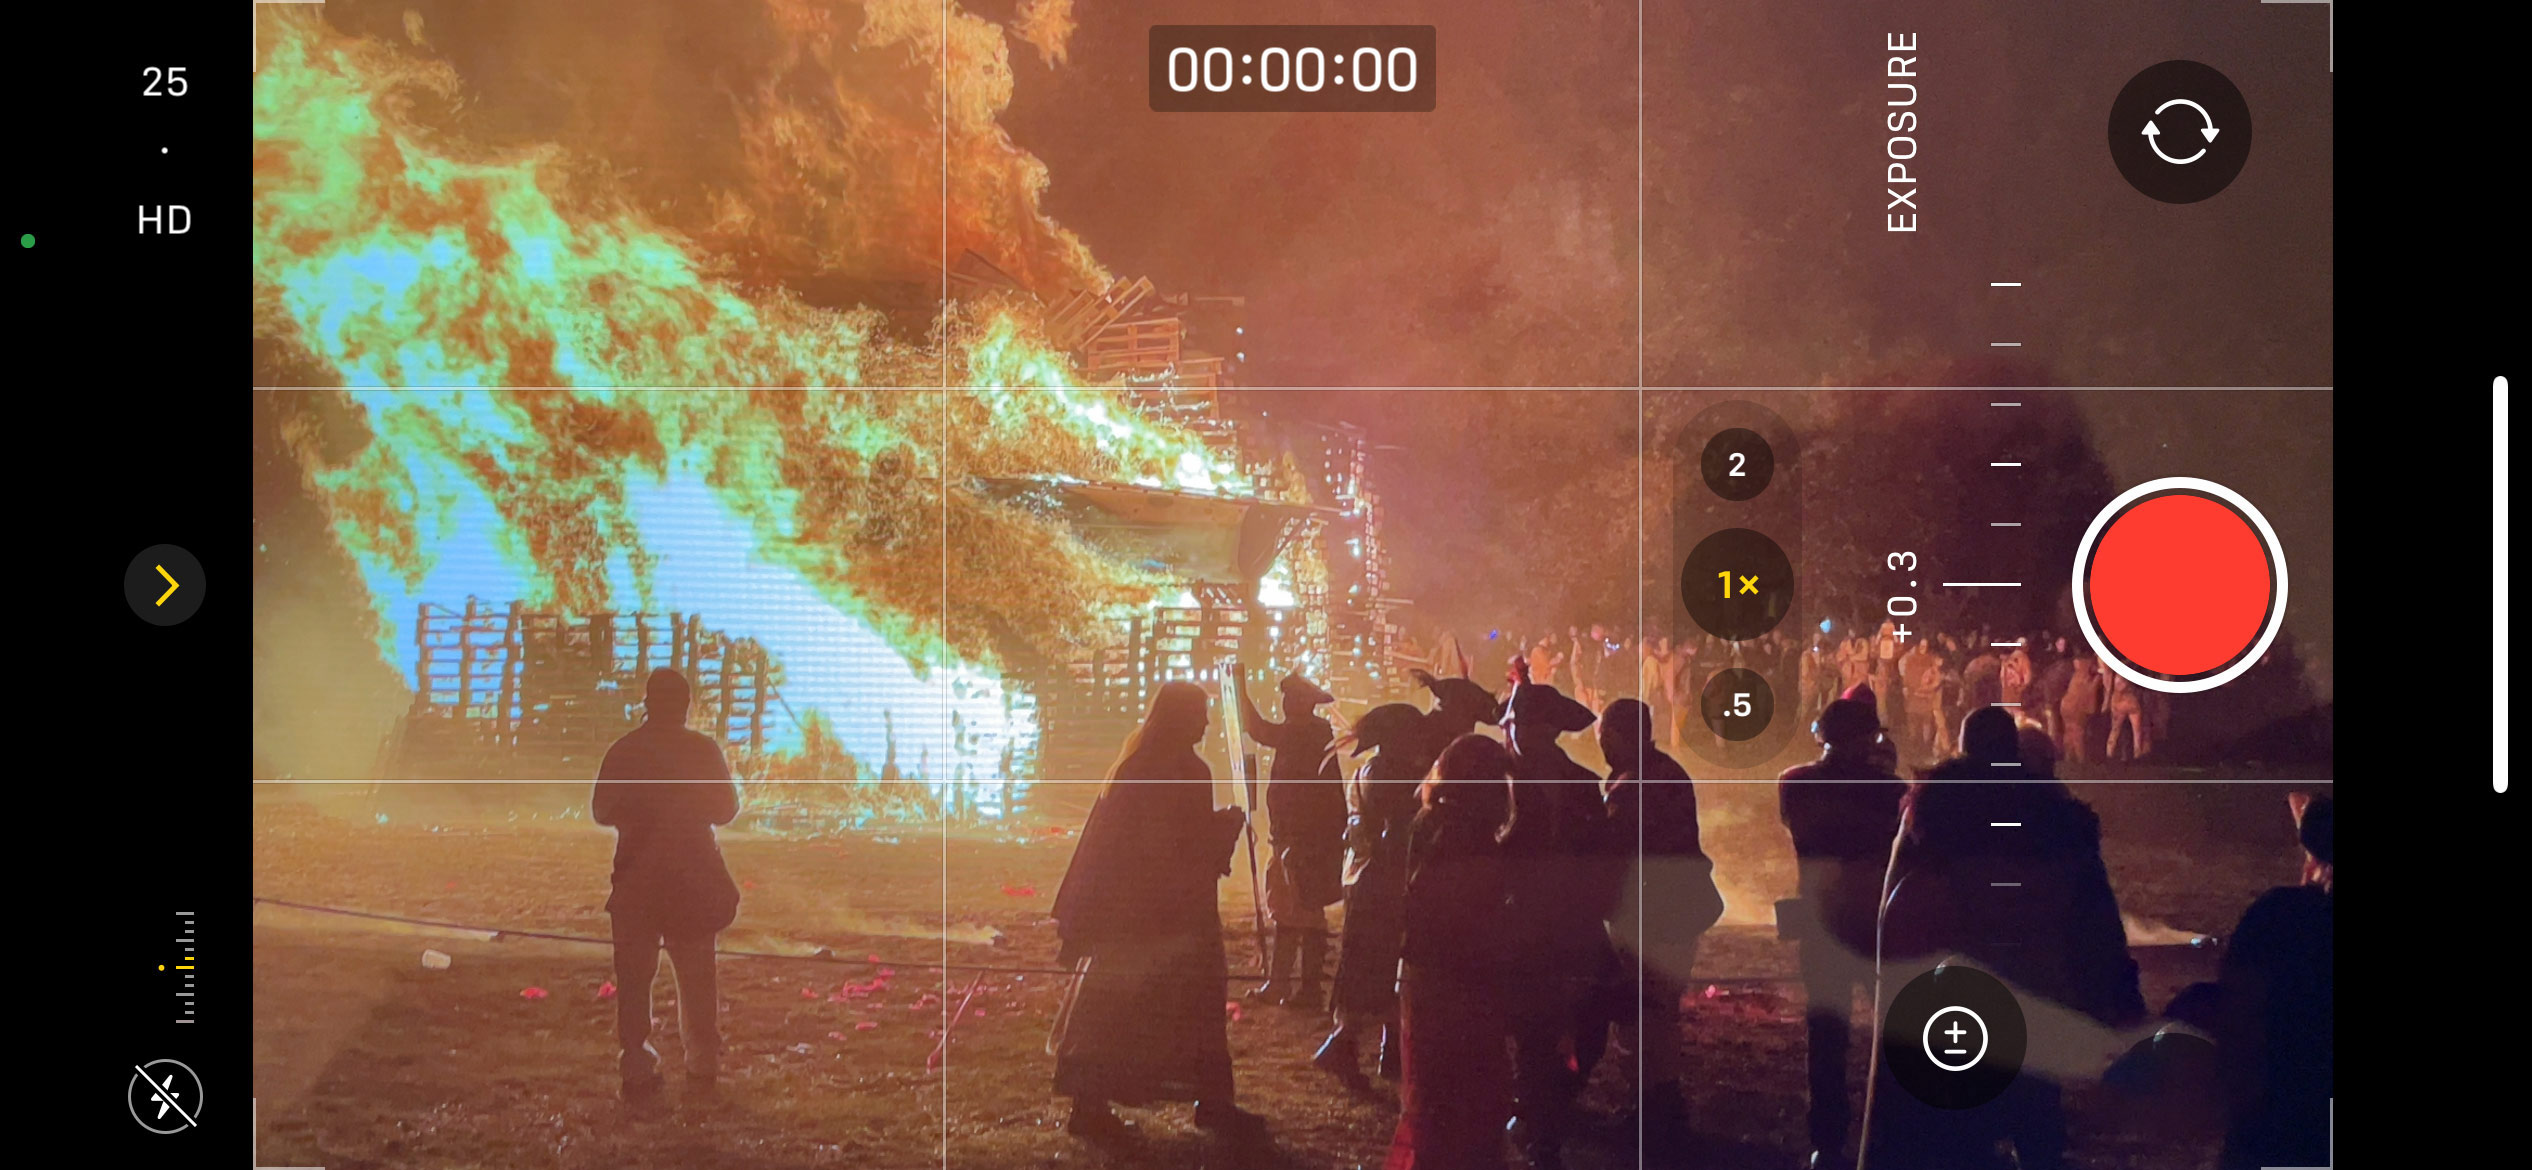
When the image looks right, lock the focus and exposure settings so they cannot change. You do this by selecting the icons that represent focus and exposure so they stay set at those settings. Once you do this, your focus and exposure will stay set until you go back into the automatic setting. Keep a close eye on these settings because if you get a sudden movement or change of light, you will need to adjust and set them again.
Consider Composition
Before you start filming, give some thought to how you are going to frame your shot. There is a huge amount of information on this subject and I am not going to try to explain it fully here. Let’s just say there is a balance to how objects should fill the frame. This is explained in greater detail in theories like the rule of thirds.
The only way to get an understanding of this is to look at examples in paintings and photographs or to watch feature films and television shows. You will find that they often follow similar themes in composition and framing. There is a natural balance in how you frame a person for a video or how objects in a room can make up a composition.

You should study as many examples of this as you can to train your eye in the correct way to frame your shot. In more general terms, if you are filming a person, try to frame your subject so they fill the frame.
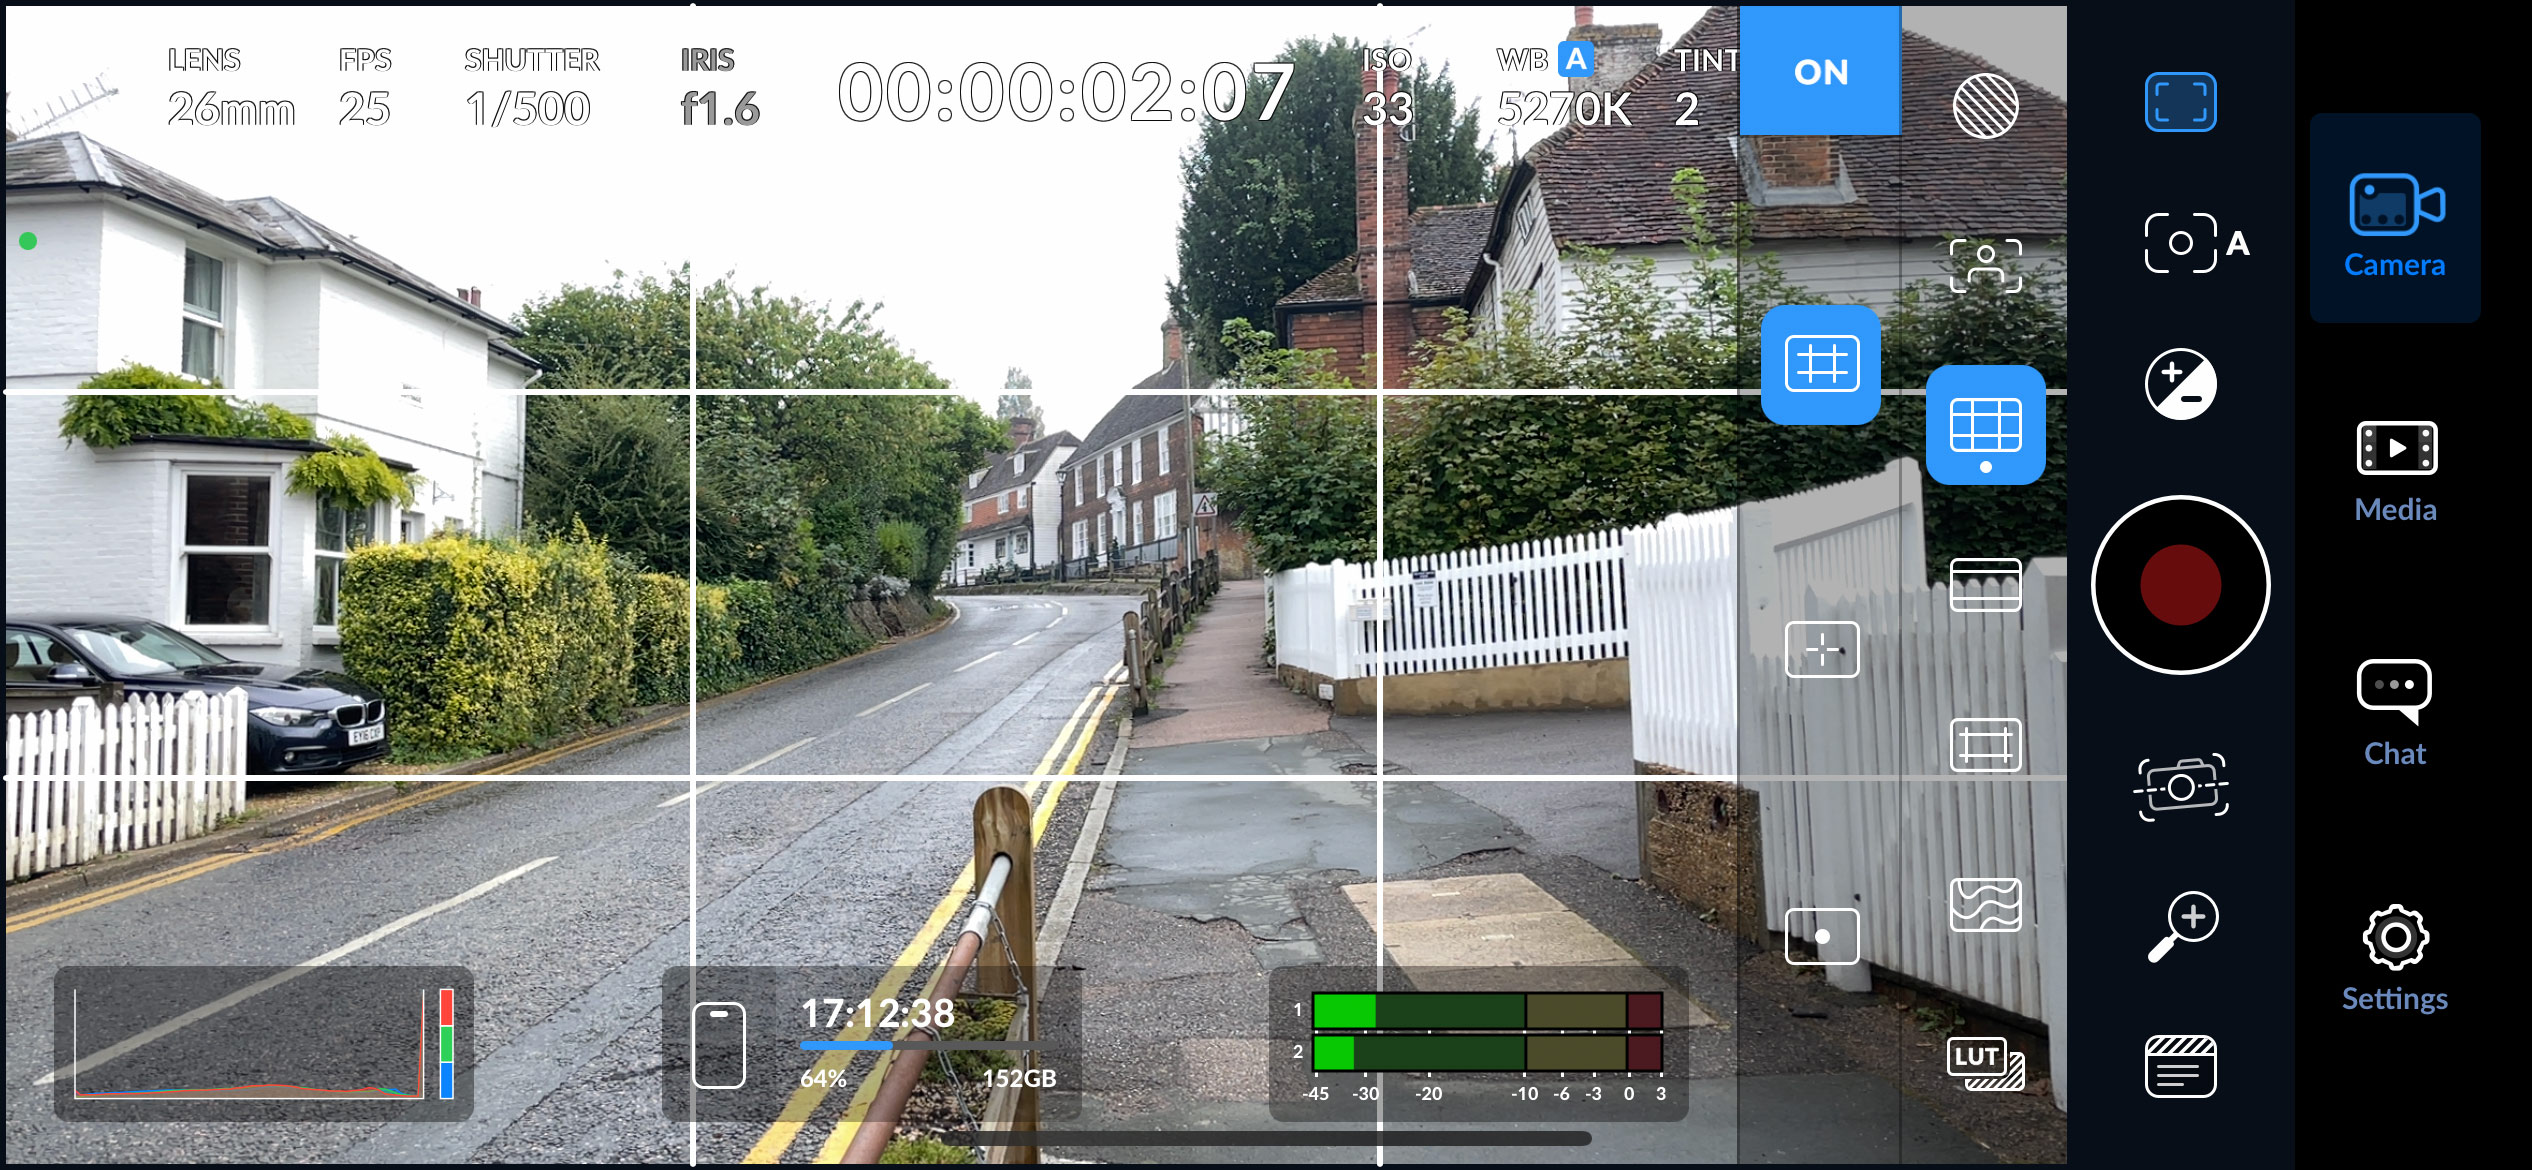
Video Camera Apps
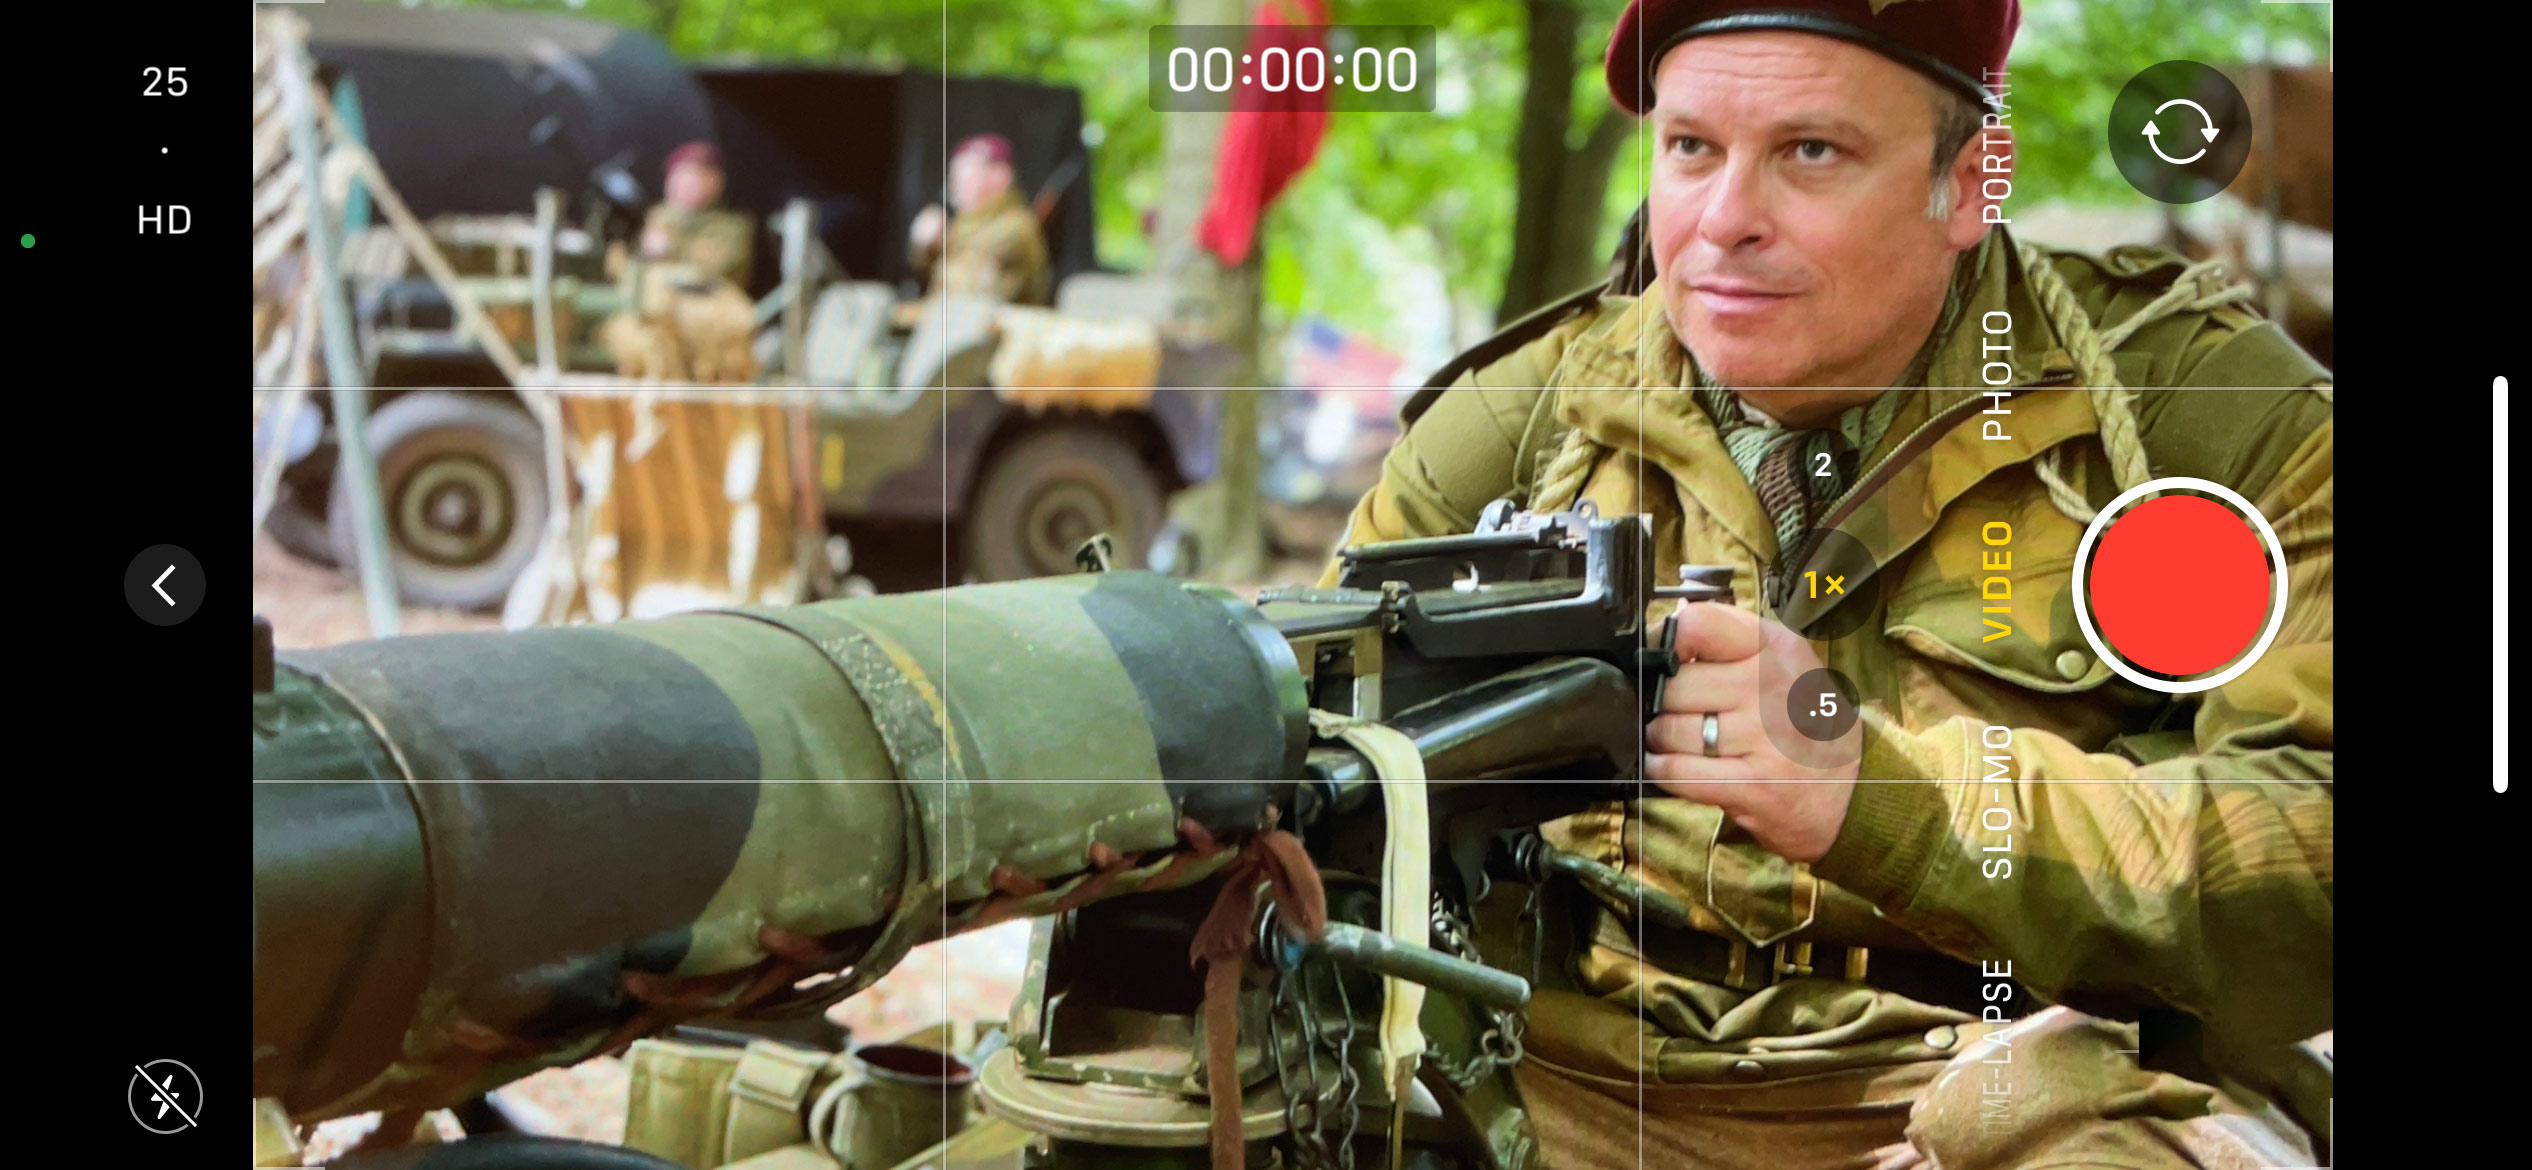
Before you start making videos with your iPad, you will need to get the right video camera app. All iPads come with the Apple camera app as part of their operating system. Recent updates to iOS have seen many improvements to the Apple camera app, but it still lacks some features for shooting professional video.
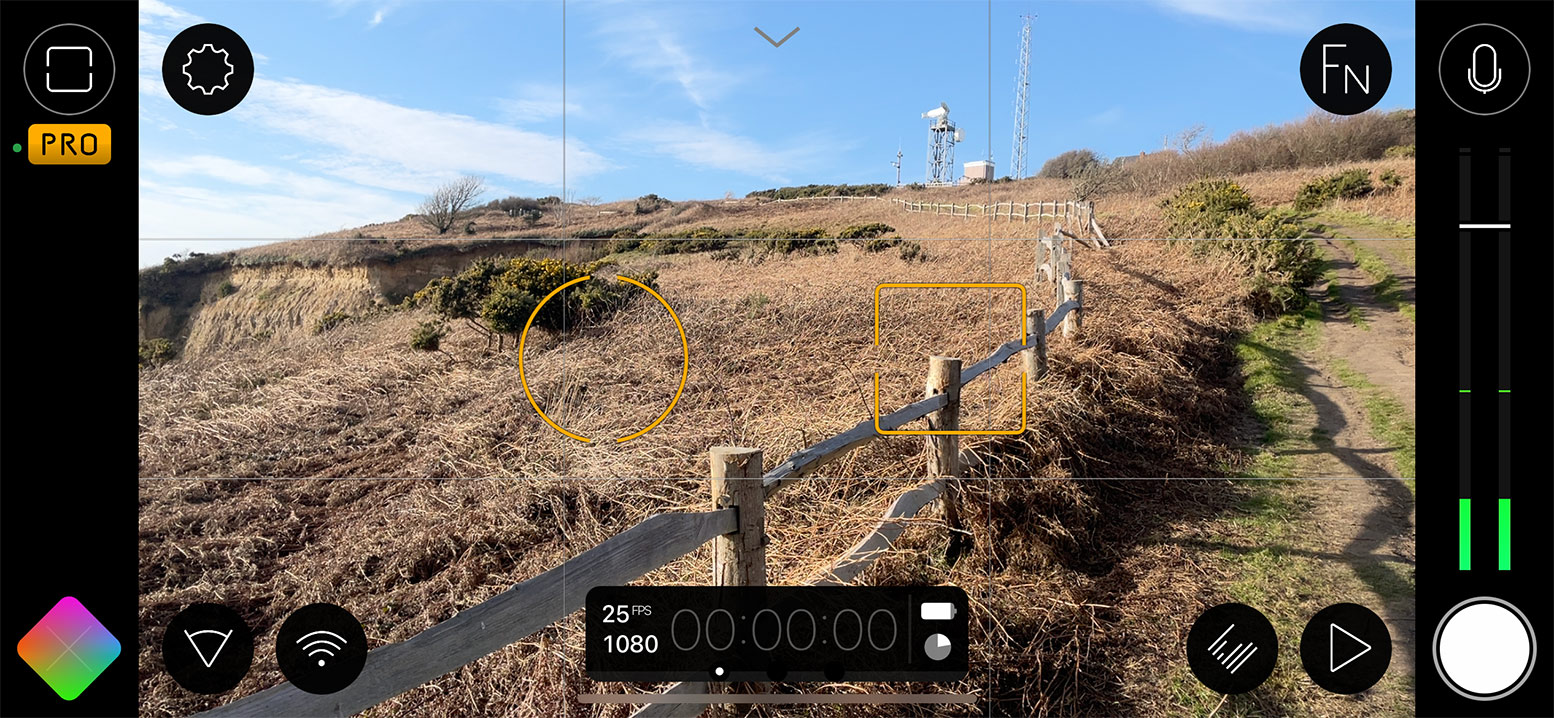
Luckily, there are a few video camera apps on the market that will quickly get your iPad ready for filming great videos. A great free camera app is Blackmagic Camera App. This will give you full control over your iPad’s camera for shooting videos.

Alternately you can try Filmic Pro, Moment Camera App, Procam, Beastcam or Cinema P3. All will give you greater control over your iPad’s camera.
Pay Attention to Light
If you are not carrying a portable light and don’t want to use the flashlight built into your iPad, you are going to need to improvise. To help with this problem you will need to use what is around you.
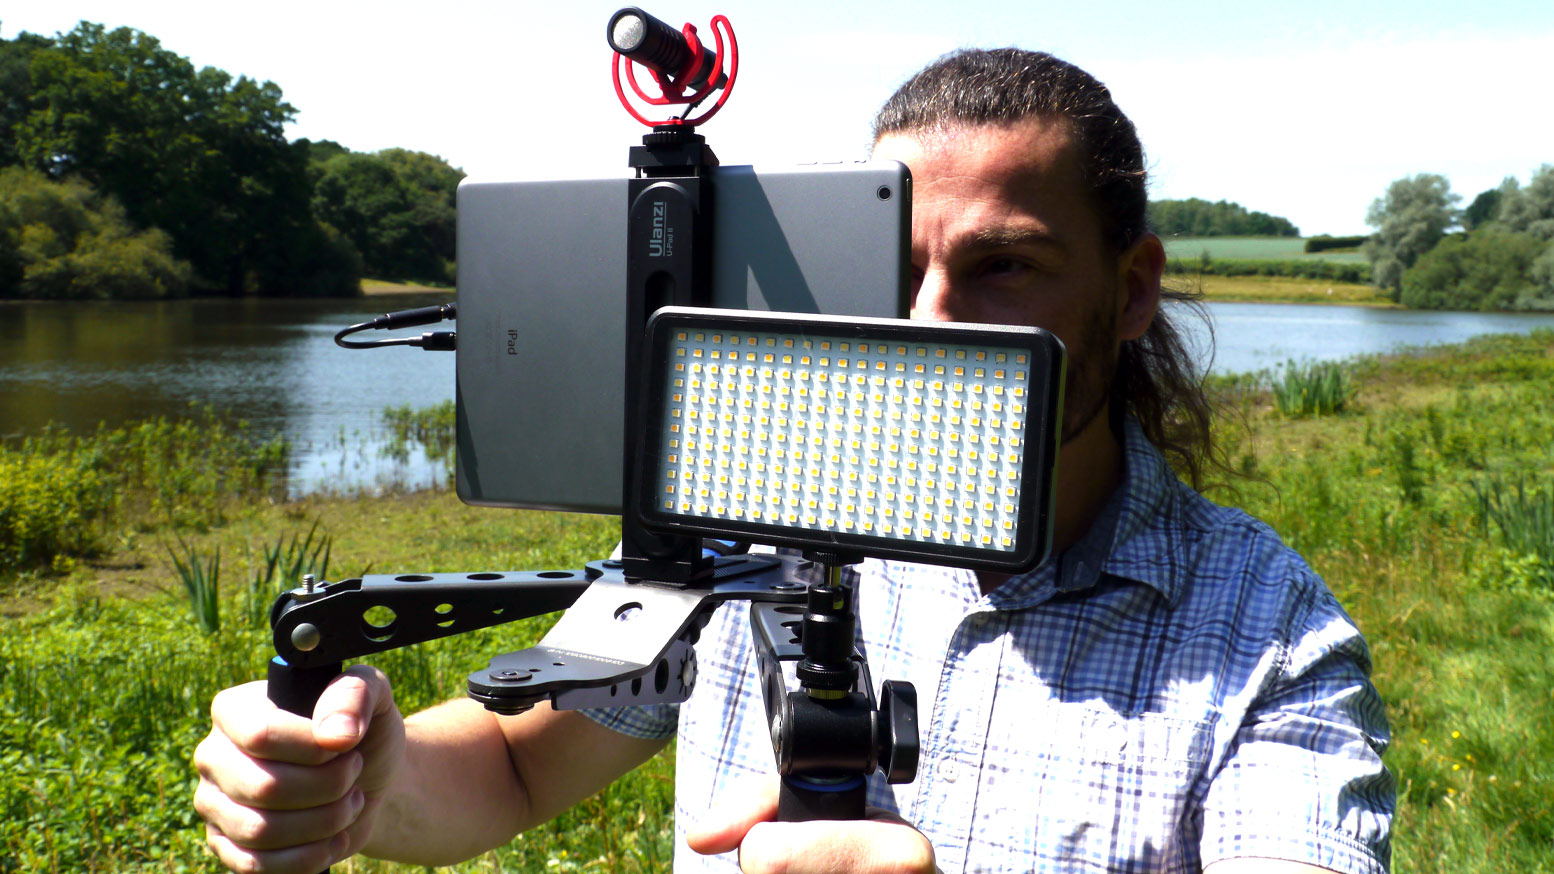
When you turn up to a location you should be aware of the strongest light source in the room and don’t be opposite to it. This may seem obvious but I have seen many videos where the subject is unintentionally in silhouette because the main light source was behind the subject.
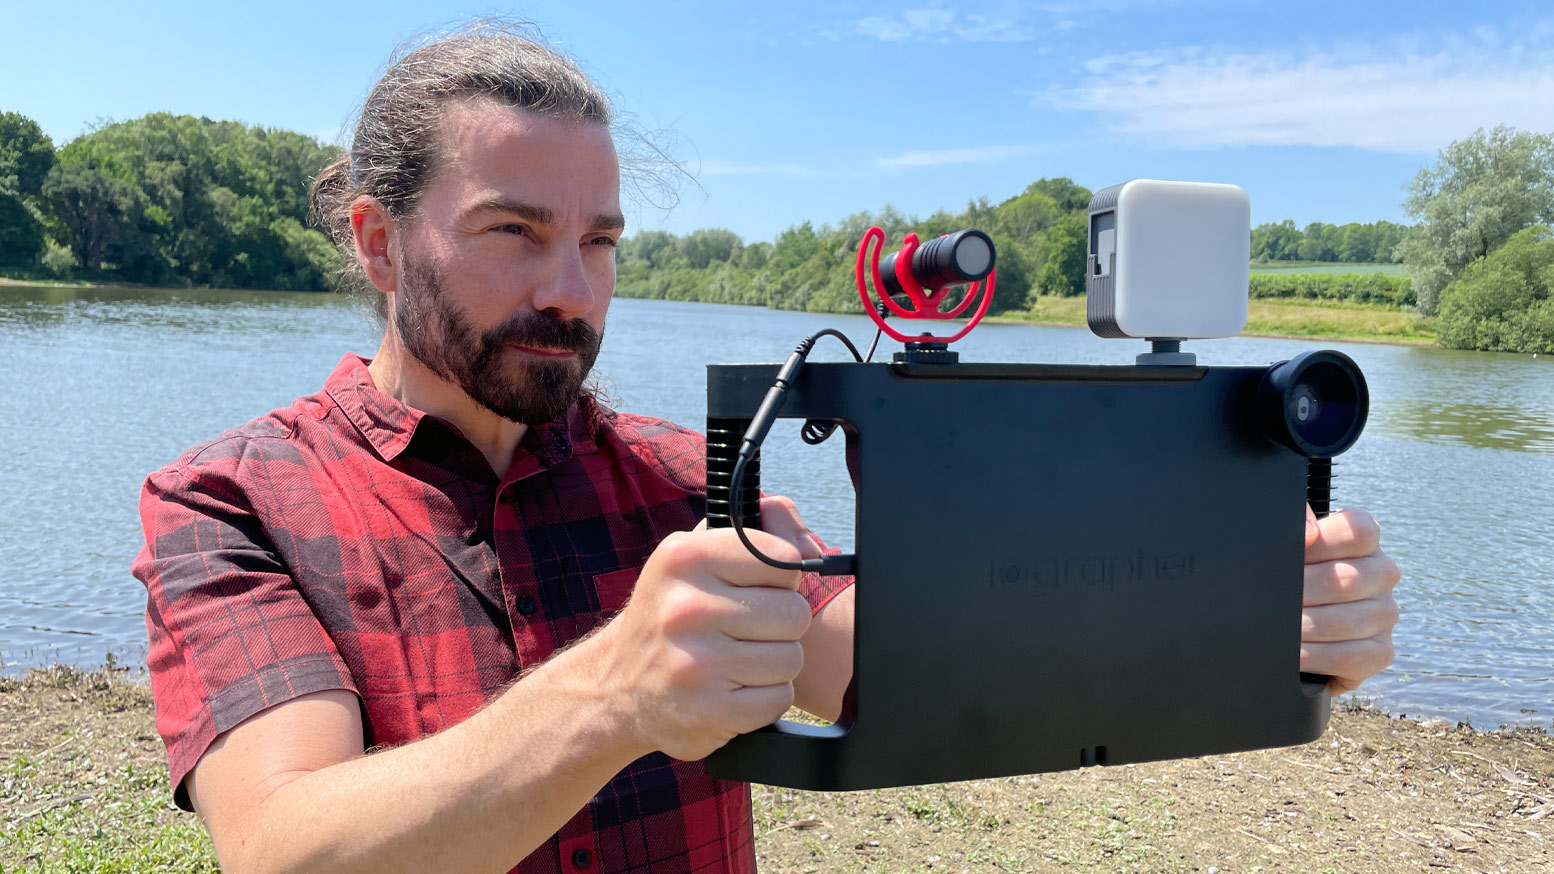
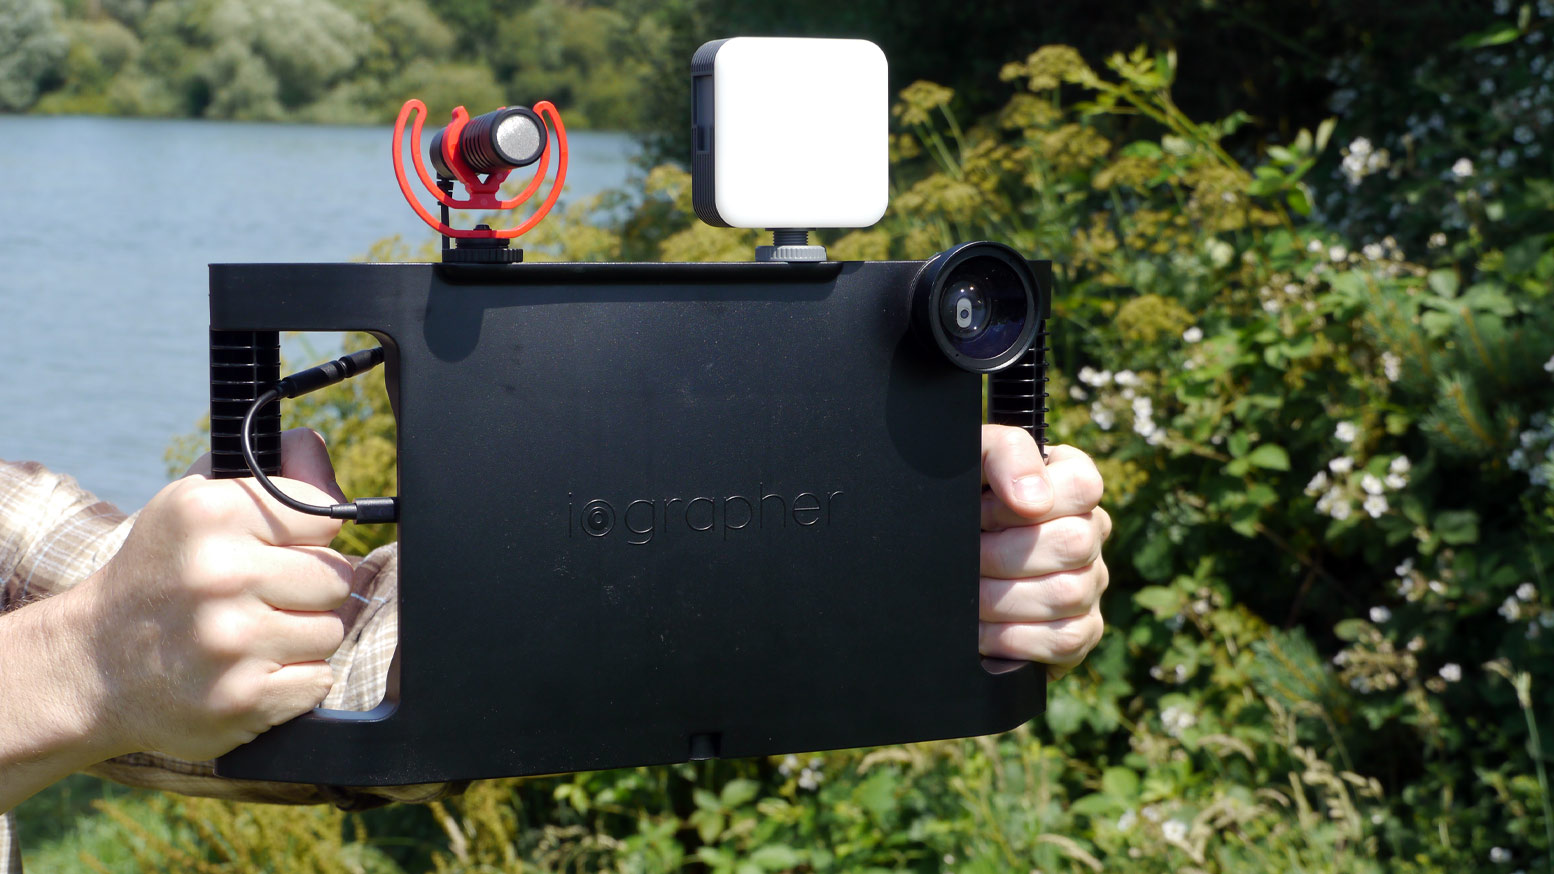
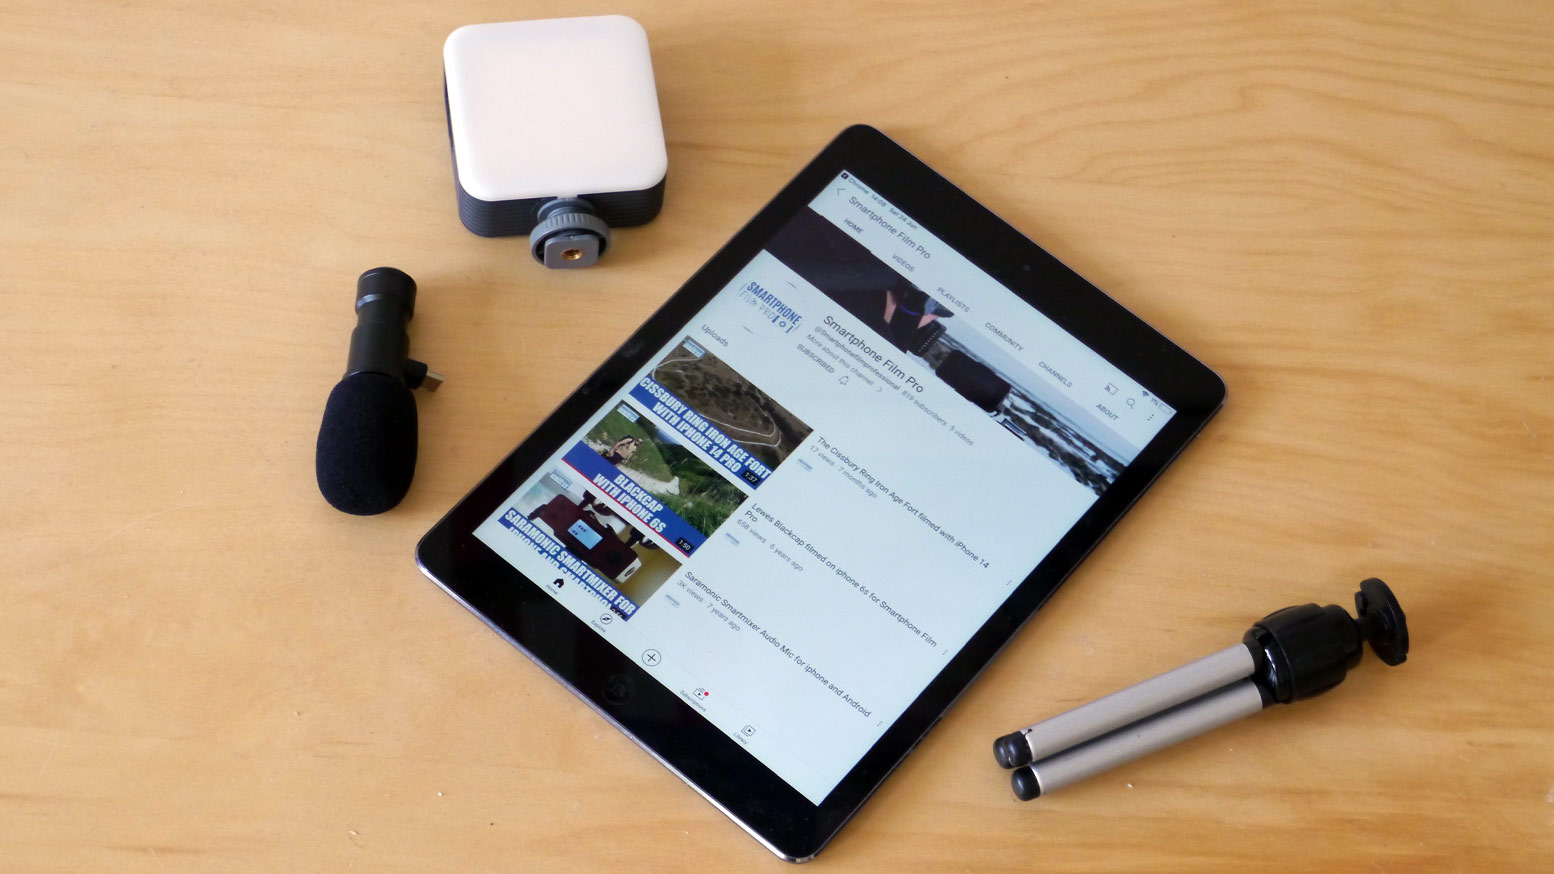
If have the cash then it’s a good idea to buy a portable LED light like the SmallRig P96 LED Video Light or the Godox LED64.
Audio Issues
If you want to record location audio, you are going to have to use a microphone. It could be the built-in microphone on your iPad or one of the many different external microphones you can plug into it.
If you are using the built in microphone, remember to be no more than three feet away from your subject. Different types of microphones are good for different tasks, so the right microphone will depend on matching its characteristics to the needs of the sound you want to record.

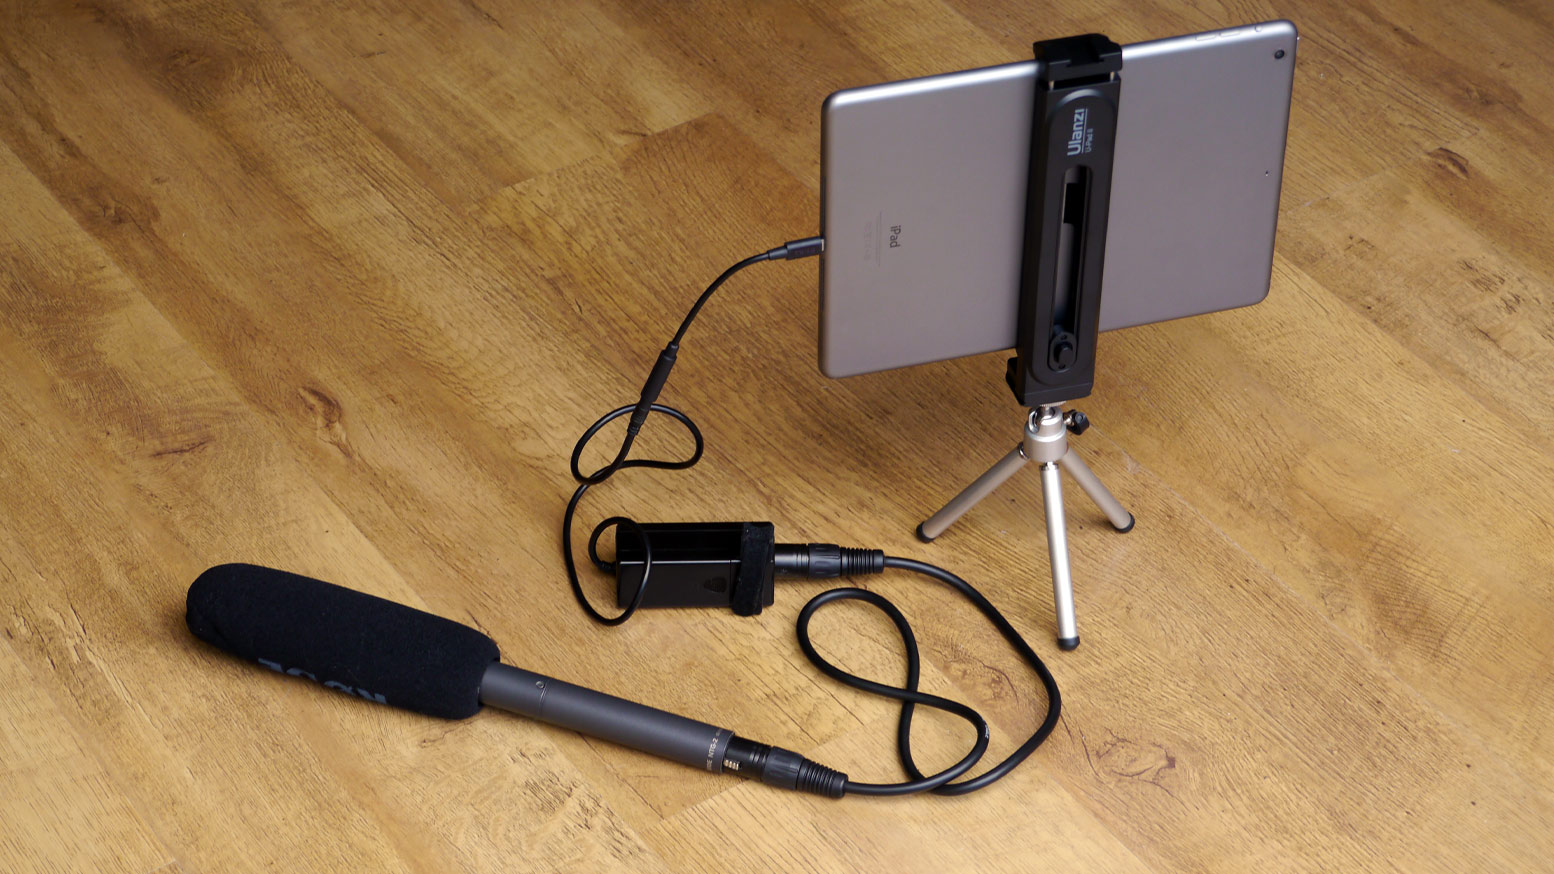
A good directional microphone is the Rode VideoMic Me which comes in a Lightning port or USB-C version. Or you could add a wireless microphone like the Rode Wireless ME. Alternatively, you could use a lapel microphone like the BOYA BY-M2 for lightning port of the BOYA BY-M3 for a USB-C iPad.
Stopping the Shakes
When you shoot video with an iPad it can be hard to keep it stable. This is because iPads are light and can be difficult to keep still for long periods of time. The result of this is wobbly images and poor looking video. Your video will always look better if the image is static and the action happens in front of it.
But there are times when you need to go hand-held to get a shot. This might be if you are running around filming location interviews or having to follow the action with a mobile reporter. You might also need help in attaching lights, microphones and other such equipment to your iPad.
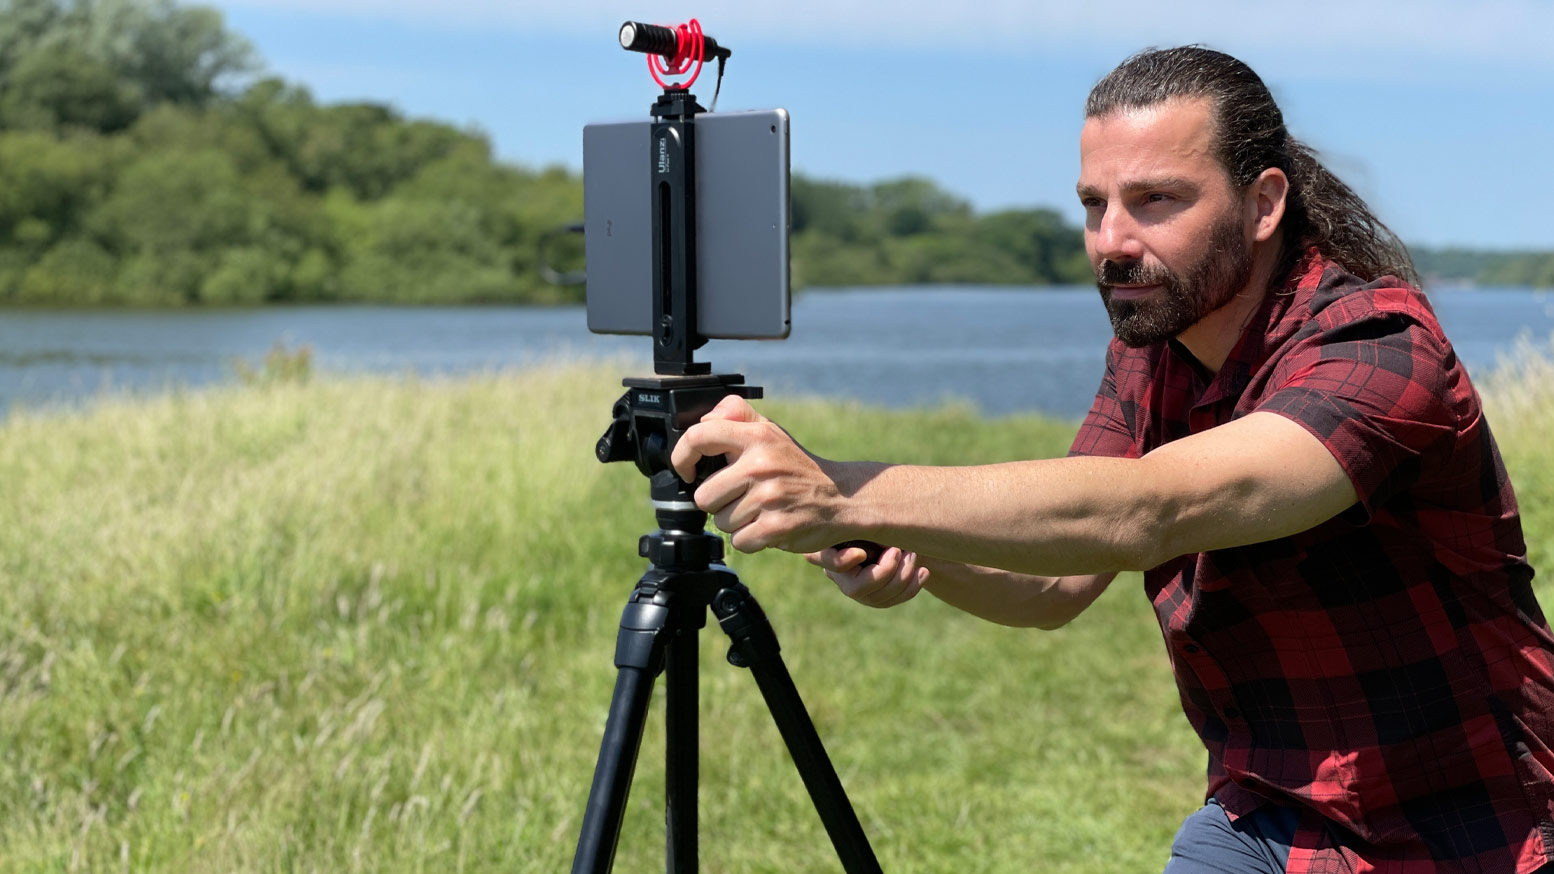
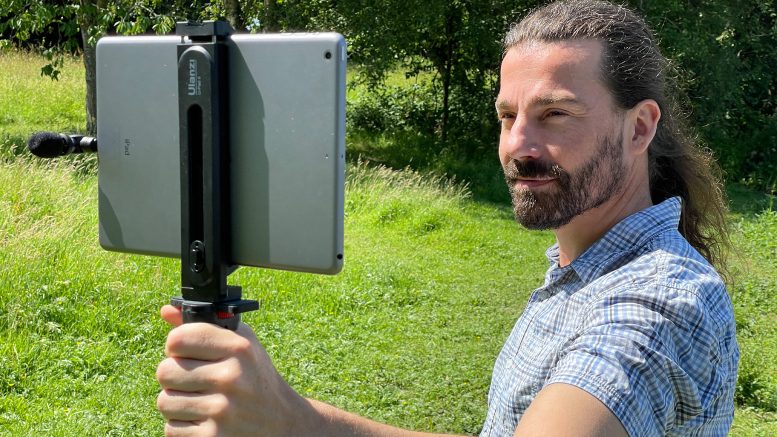
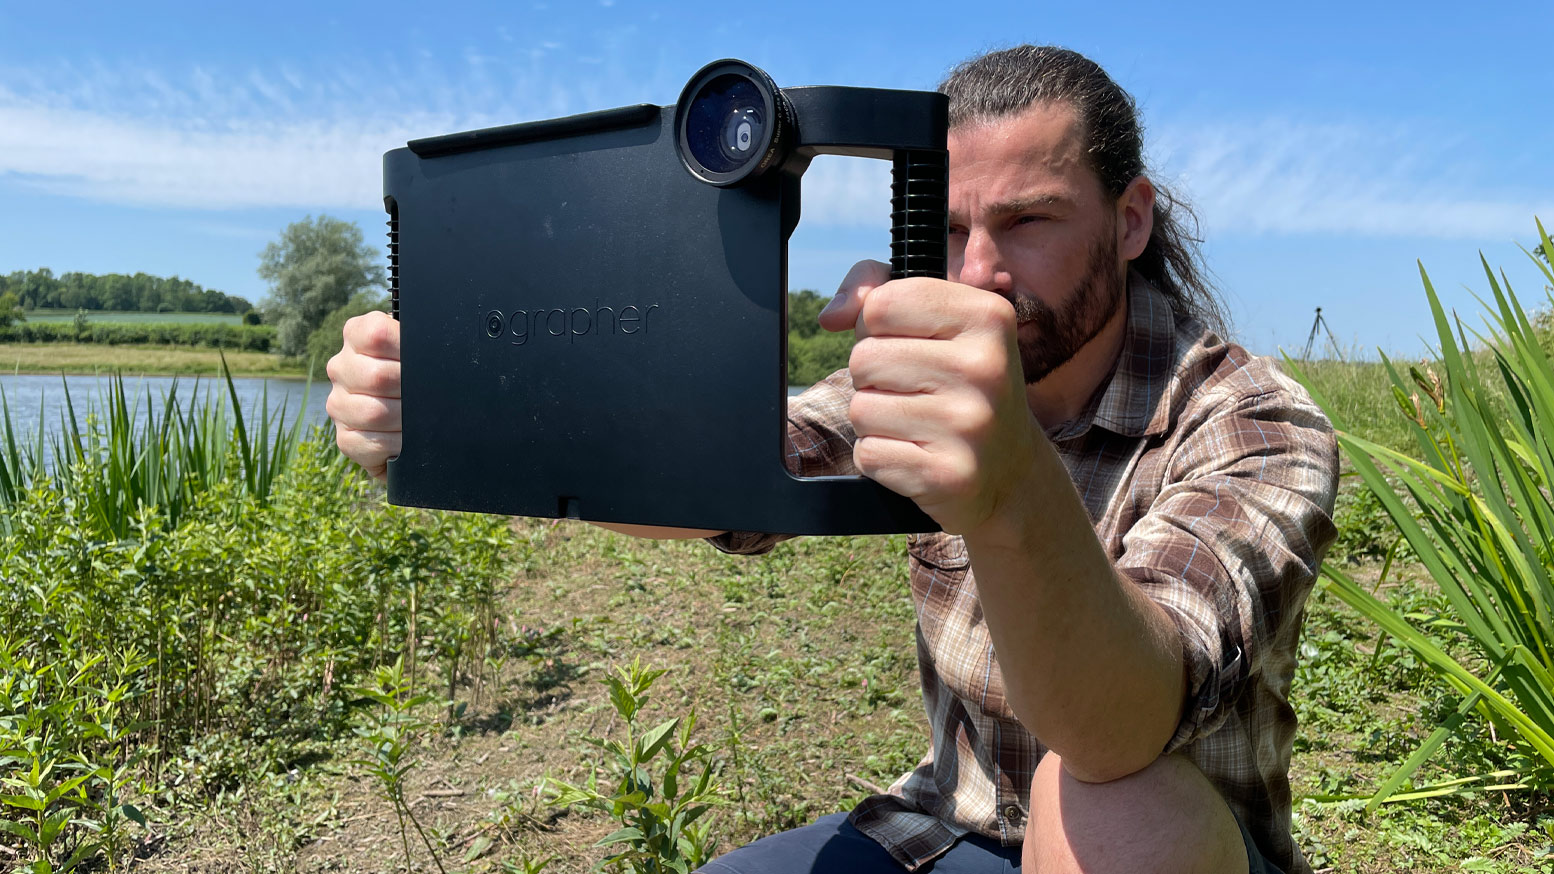
If you are looking to stabilise your iPad you could try an Iographer or Melamount case that you can add lights and microphones. Or you can buy an iPad tripod adapter like the Ulanzi iPad Tripod Mount and put you iPad on a tripod.
Editing Apps
There is a wide variety of video editing apps available for iPads, with some being good and others not worth the hassle of downloading. Certain professional apps may have a steep learning curve.

If you’re just starting out and still learning the art of editing, you might prefer an editing app with simpler tools.
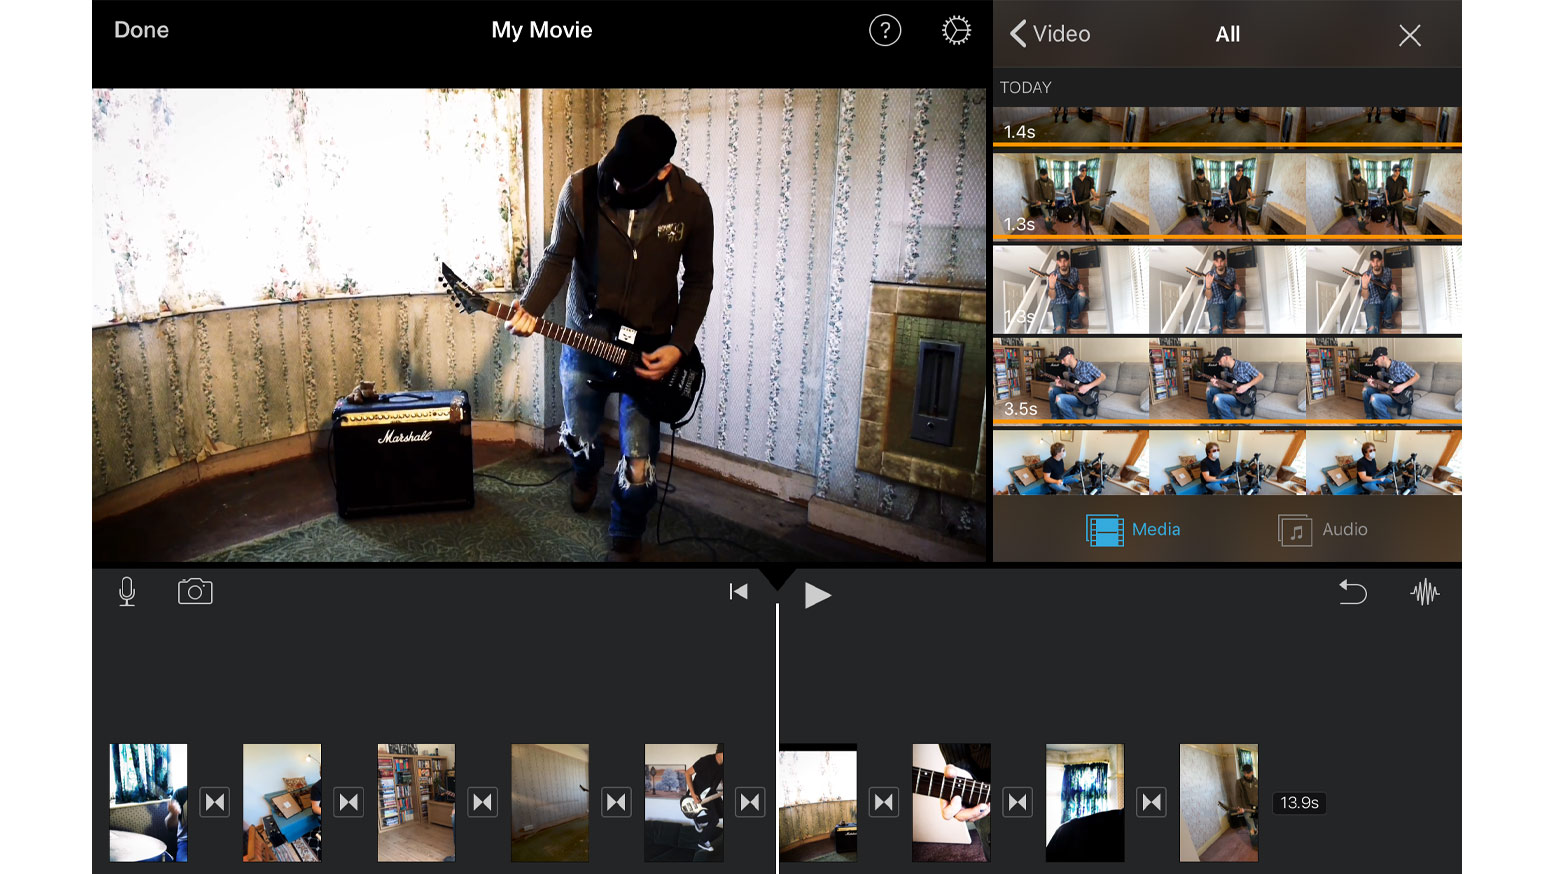
Once you’ve mastered that, you can then progress to more advanced features offered by professional editing apps. Regardless of your choice, the ability to edit anywhere is a true revolution that was unheard of just a few years ago. A few good choices for editing on your iPad include CapCut, Final Cut Pro, Lumafusion, Davinci Resolve and iMovie.
Sharing your Video
Once you have finished editing your video, you will probably want to share it with others. The best way to do this is by hosting it on one of the many social video-sharing websites. There are numerous sites on the web where you can host and share your video, all of which essentially serve the same purpose.
Some platforms even offer monetary compensation for your efforts, although the amount is usually not substantial. So, which site should you choose to host your video? Well the main platforms are YouTube, TikTok, Facebook, Instagram, Twitch, X (Twitter) or Vimeo. So you have plenty of choice to show off all your hard work.
Final Thoughts
Some people believe that videos shot on an iPad should not be taken seriously. This misconception stems from the notion that an iPad is merely a tablet with a camera attached. However, it is quite the opposite. An iPad is a 4K video camera that also happens to have a fantastic built-in screen.
If you treat your iPad as a professional video camera and give it the same level of attention as any other filmmaking device, you can achieve excellent results. This entails learning to film with manual controls, similar to how a professional cameraperson would operate a video camera.
Other Popular posts like this:
Introducing YouTube Create: Your New Editing Companion