Do you really need 4k on a Smartphone?
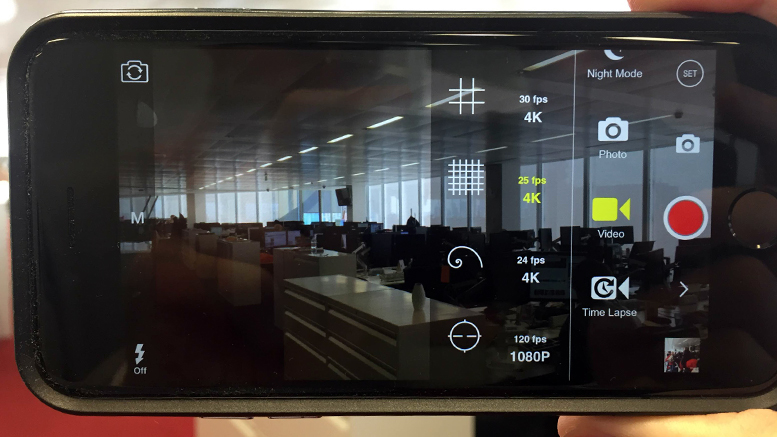
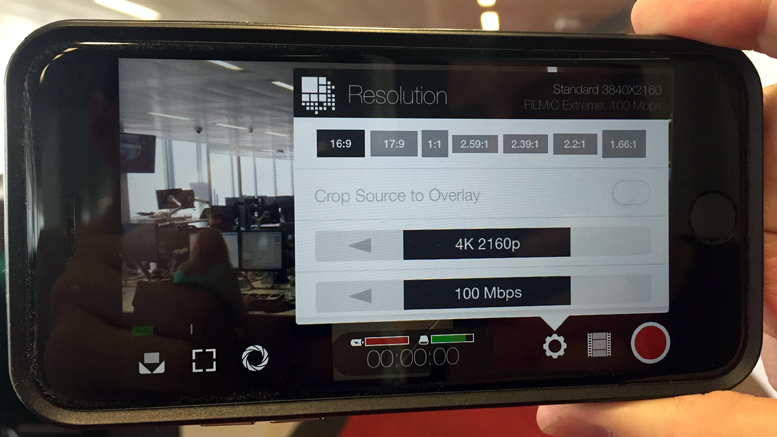
So do you really need 4k on a Smartphone? 4k video arrived on the iphone 6s and 6s plus in September 2015 and has been a feature of other Smartphone makers for some time. 4k gives you roughly four times the resolution of HD and improved video quality. The downside is the file sizes are bigger and will take up greater storage on your Smartphone. In other articles on Smartphone Film Pro you will read why I don’t think that 4k is necessary and not needed for most videos. But since having 4k on my iphone 6s I have since changed my mind about this. So why should you shoot 4k on a Smartphone? I hope some of the following will help!
Scaling the video image
4k gives you four times the resolution of HD. This means if you put a 4k video clip on to a 1920 x 1080 HD timeline you will have to scale the video down to fit. The advantage of this is that you can move around this video and select different parts of the image for your shot. An example of this is would be if you shot a two-person interview in a wide shot. This would give three shots for the price of one. You would have the wide shot of both people and you could push in on each individual as well. This may seem like lazy film making but if you are in a rush or only get one try at the interview it can be a lifesaver. There are limits to this method. You can only push in 50% before the image starts to degrade.
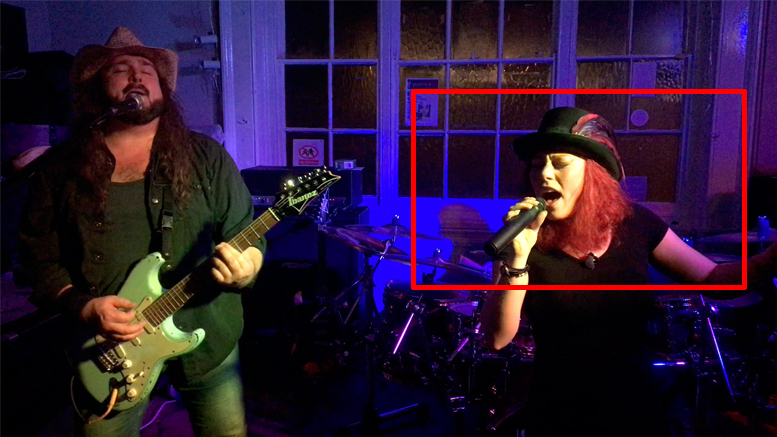
Image stabilisation
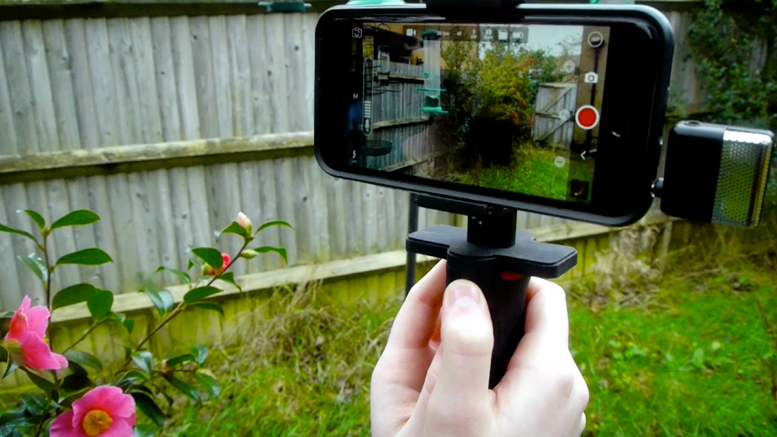
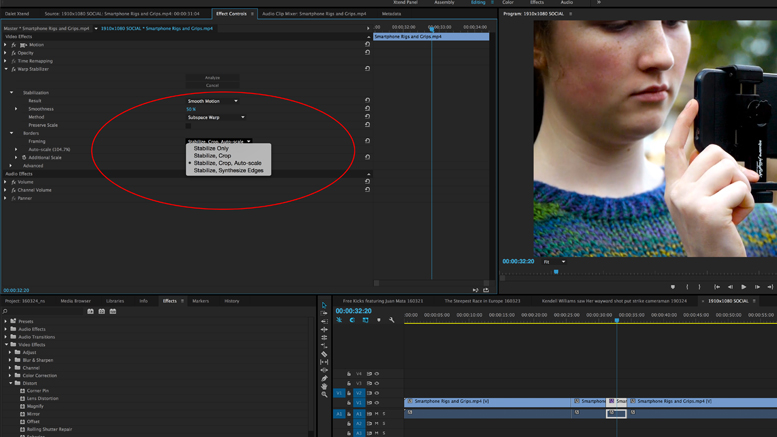
Smartphones suffer from wobble if not mounted to a tripod or some form of rig or grip. If you shoot HD and use an image stabilisation effect you will lose image quality. This happens because the image stabilisation software has to push in on the video and then jiggle it around using the surrounding video as a buffer to knock out the bumps. If your video is very shaky this push in can be a lot. However if you shoot 4k you will no longer have this problem. Run the image stabilisation on your 4k video to smooth out the bumps and then scale down the stabilised video on to your HD timeline. You now have no loss of resolution and vastly improved video.
4k 8bit 4:2:0 to HD 10bit 4:4:4
Okay this is the geeky bit. If you edit your final video in 4k resolution in RGB 16 bit or 32 bit you can export your final HD video with a greater bit depth and colour space. Alternatively you can convert your video rushes to HD through After Effects and get a greater bit depth and colour space.
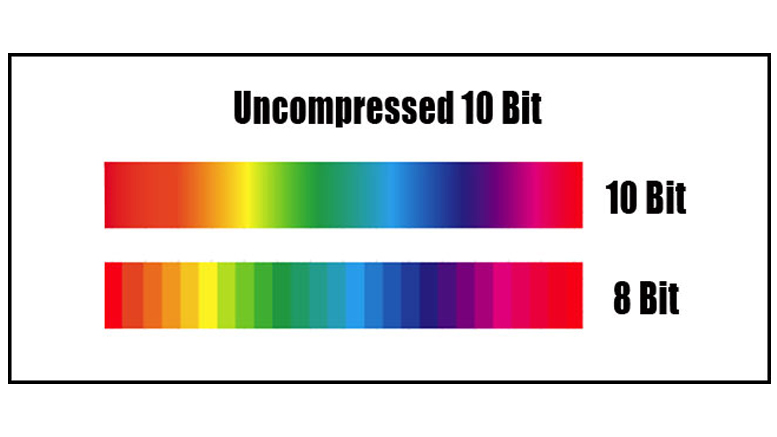
So why would you want to do this? Well 4k stores far more about the image than just fine detail, you also get more colour information. Most DSLR’s and many other cameras limit themselves to an 8 bit colour depth and 4:2:0 colour sampling with their internal codecs. This can result in stepped transitions from one shade to another, pixilation, digital looking colour and a brittle image that doesn’t grade well. The sensor itself misses data with reduced pixels and line skipping. When you convert 4k with a high bit rate of 100mb into 10 bit 4:4:4 1080p you get smoother tonality and better colour workflow in post-production.
Conversion
To do this you cannot just take you 4k files and convert them into 10 bit 4:4:4 1080p. They have to convert through a program that has 16 or 32-bit colour depth. Most editing programs work in RGB colour space (except Adobe Premiere Pro) but they need setting to 16 or 32-bit colour space before you export your footage into a 10-bit 4:4:4 1080p file. The codec itself also needs to support the higher bit rate too. Good examples of this are DNXHD, ProRes or Cineform. To store all that information you need to use a codec that won’t sub sample and can handle more than 8 bits per channel. So not just a 4:4:4 codec but also one with 10 or 16 bits per channel.
Workflow
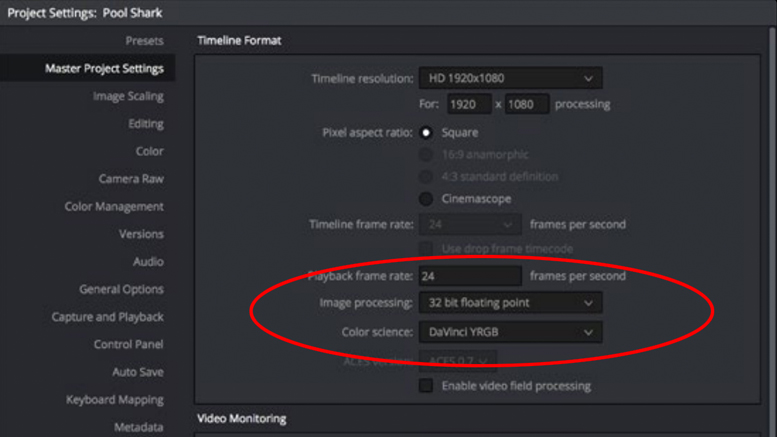
An example workflow of this would be to start a DaVinci Resolve project with a bit depth of 32 and import your 4k footage. Scale it down and then export it to ProRes, DNXHD or Cinefom 4:4:4. Setting the project to 16 or 32 bits per channel will up convert your footage to 16 or 32 bits per channel.
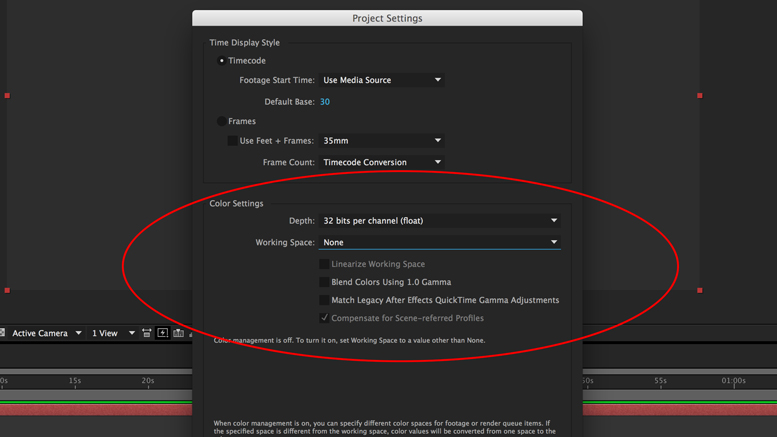
The same goes for After Effects. Go to projects settings and set your bit depth to 16 or 32 bit. Import your 4k footage and scale it down onto a 1080p time line. Then export it to a 4:4:4 16 bit codec as mentioned above.
Garbage in – Garbage out
There is debate about this conversion process and the benefits it gives. I would say that if your video is poor then conversion will do little to help it. Be sure to light well and properly expose your video. You also need to shoot at the highest bit rate so your original video is as high-quality as it can be. No conversion is going to help poorly shot video.
Conclusion
So should you shoot 4k? I would say yes. Whatever the debate may be about its merits I do believe you get better 1080p video after conversion. The downside is larger file sizes and your Smartphone will fill up fast. I do think the rewards are huge though and not only will you get the best quality video you will have more choices in post-production.
Other Popular posts like this:
Free Post Production Editing Software
How to a shoot a movie on your phone, according to Steven Soderbergh

