Top Tips For iPhone Cinematography
The iPhone allows you too create, edit and share great cinematic videos. It’s has great simplicity and convenience for filmmaking with a device that is in the palm of your hand. It has also compelled filmmakers like Sean Baker and Steven Soderberg to use the iPhone to make feature films. However, to get the best out of your iPhone you may need some extra stuff and advice to make movies.

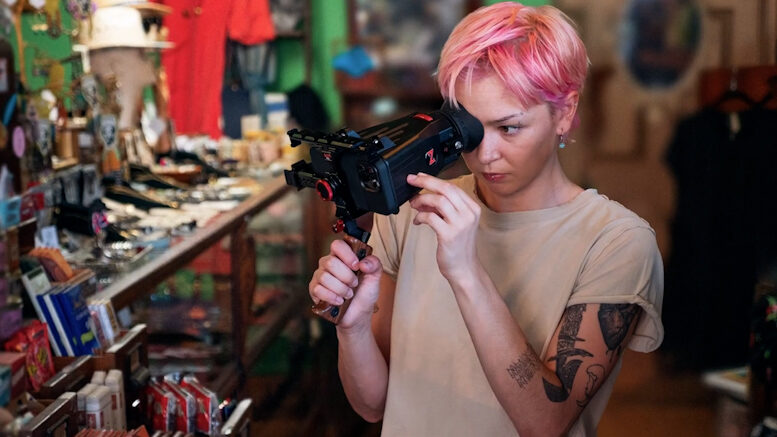
Use A Filmmaking App
Many automatic video camera options are available on your iPhone, including auto-exposure, auto-white-balance, auto-focus, and auto-stabilisation. All excellent tools, but if you want to create a filmic effect, you’ll need total control over your iPhone’s video camera settings. Filmic Pro, Beastcam, Mavis, Procam, and Moment are a few examples of great video camera apps for filmmaking.
Filmic Pro gives you manual control over all of your settings. This means adjustable ISO, aperture and shutter speed. The app also controls white balance, focal points, resolution, frame rate and colour correction. There are also audio control options and it’s compatible with external microphones.
Use A Stabiliser
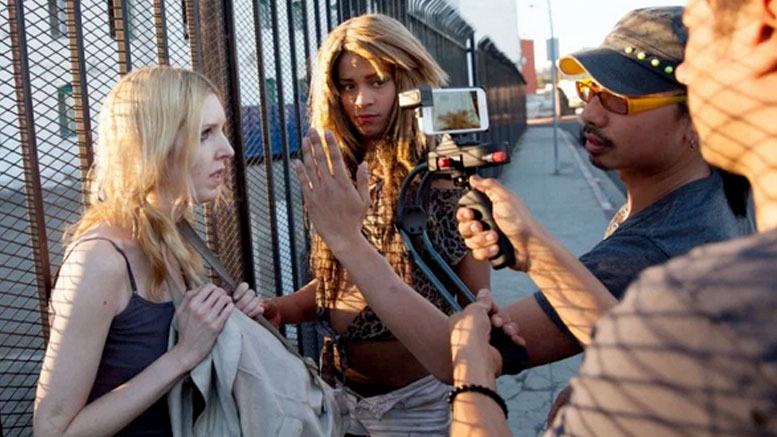
Use some form of stabiliser if you don’t want the audience to feel like they are on a roller coaster. A three-axis gimbal is a fantastic place to start. By doing so, the shakiness will be reduced and smooth footage will be produced. In addition to a gimbal, you can also utilise a tripod or a stabilising case. An important aspect of producing cinematic video is getting steady shots.
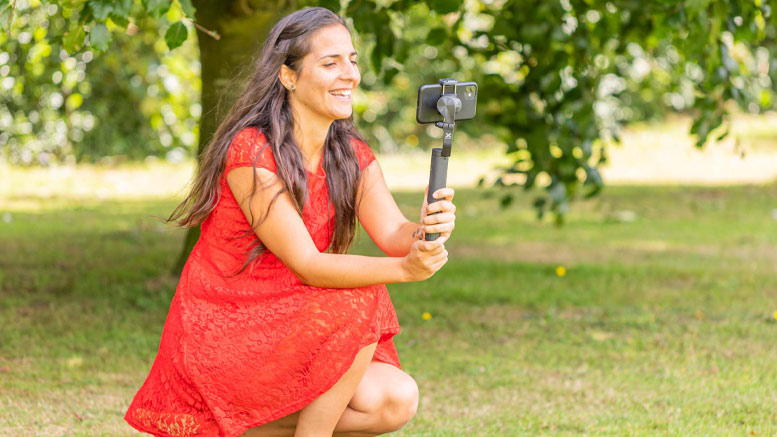
Also, while holding your smartphone, you can attempt to balance it on a table or any other piece of furniture. Another choice is to try to relax and rest your upper arms against your torso.
Make Use of Lighting
As a result of their small sensors, Smartphone cameras struggle in dimly lit or highly contrasted environments. Try to stay away from those situations. Shoot away from the light or use reflectors to lessen the contrast.

You may also use a variety of lighting sources to give your footage the right lighting if you have to shoot in poor light. Turn on a lamp of place a subject adjacent to a window.
Sound Is Very Important!
There is a major sound-related disadvantage to the iPhone. Because to its small microphones, it is not ideal for shooting in noisy environments or focusing on a specific sound. You have three choices in this situation. A separate microphone can be used, or you can forgo live sound and approach close to maximise the built-in microphone.
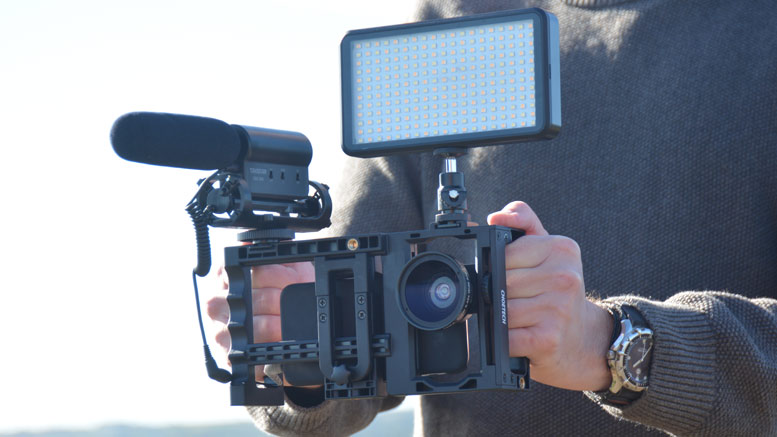
You should think about completing your setup with an external microphone. To get good, strong, directed sound, try a shotgun microphone or a lavalier microphone. Think about the function the microphone should serve while making your selection.

Omnidirectional lavalier microphones are simple to fasten to a shirt collar. Lavalier microphones are fantastic because they enable you record totally hands-free. As a result, once you’ve placed them, you won’t have to think about them again, allowing you to concentrate on the material you’re creating. Lavalier microphones have the drawback of picking up noise when the mic rubs against clothing. Nevertheless, you can avoid this by covering the microphone’s head in moleskin.
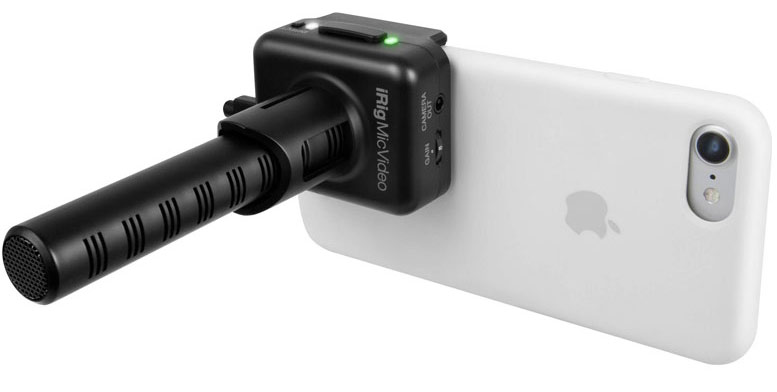
Your audio will sound more realistic if you use a shotgun microphone. It’s a directional microphone, so it works best for recording whatever is directly in front of you because you point the shotgun mic in the direction of the sound you want to capture. It’s also a wonderful microphone to use if you want to cancel out side noise.
Check Your Framing and iPhone Position
When it comes to using a smartphone to make movies, equipment is not everything. It also involves mastering the fundamentals of cinematography. That necessitates considering framing and camera placement. The audience’s interpretation of the situation will be greatly influenced by how and where you place the Smartphone. Is it best to put it nearby, in the corner, or far away?
In the same way, you need to think about framing. Framing refers to the placement and position of the subject in your shot. It’s important to comprehend how framing will affect your footage and how the audience will see your subject. Let’s use a high-angle image as an illustration. When you do this, it gives your subject a feeling of weakness and helplessness because you are shooting them from above. The low-angle view is obviously the antithesis of this. The subject feels powerful and in control because the camera is pointing up at them.
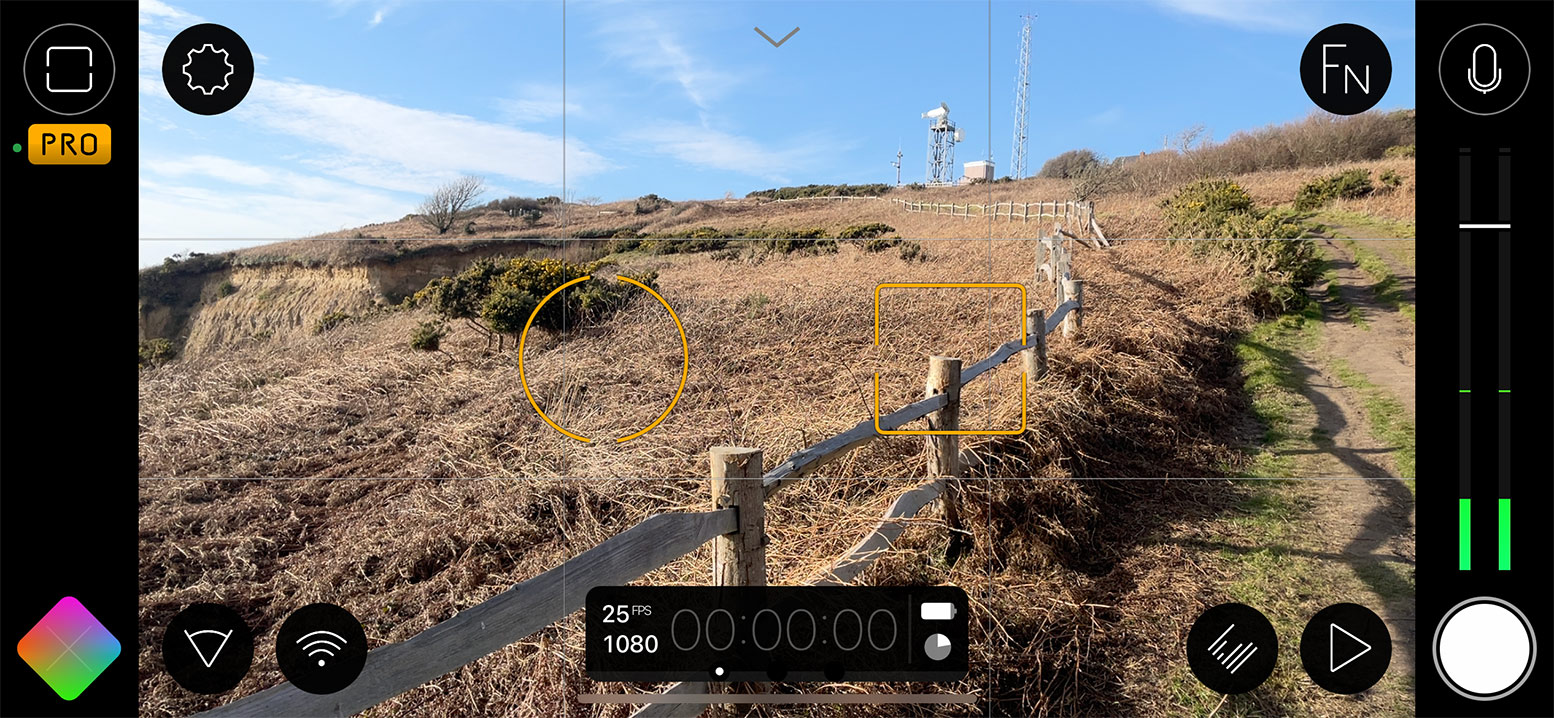
Use Different Focal Lengths
A scene will have more depth and a sense of emotion if different focus lengths are used. Certain iPhones, including the iPhone 13 and 14 Pro, have lenses with various focal lengths built in. The Filmic Pro app makes switching between them simple. A shallow depth of field is now also possible.

You can also upgrade your filmmaking setup by including a lens. Moment lenses come in a variety of focal lengths and are generally good options.
Colour Correct Your Video
Think about using colour grading to give your video a creative flair. Alternately, use colour correction to guarantee that all the colours appear as they should. You could use a free video editing program like Davinci Resolve for colour grading and correction. Or, if you fancy a Smartphone app you could try Luma Fusion.
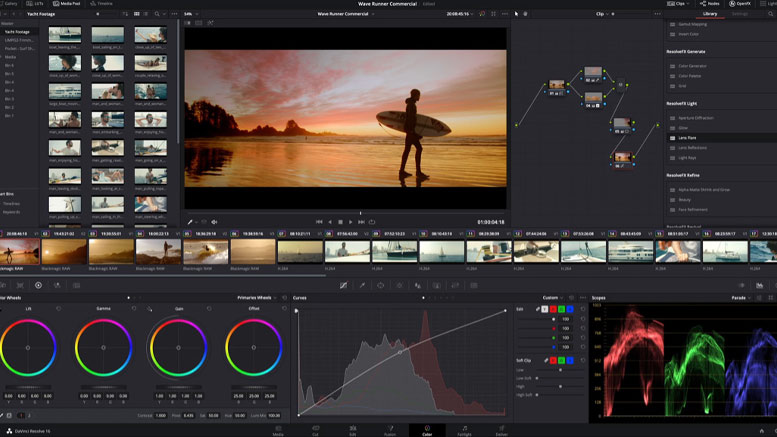
Colour grading and correcting aren’t just for Smartphone filmmaking; they should happen in every filmmaking process. It takes time, but it’ll be worth it for your final movie.
Other Popular posts like this:
Moment announces 1.55x Anamorphic Lens for Smartphones
What are the best video camera apps for iPhone and Android Smartphones?
The SmallRig P20 Smartphone accessory allows you to shoot horizontally and vertically